
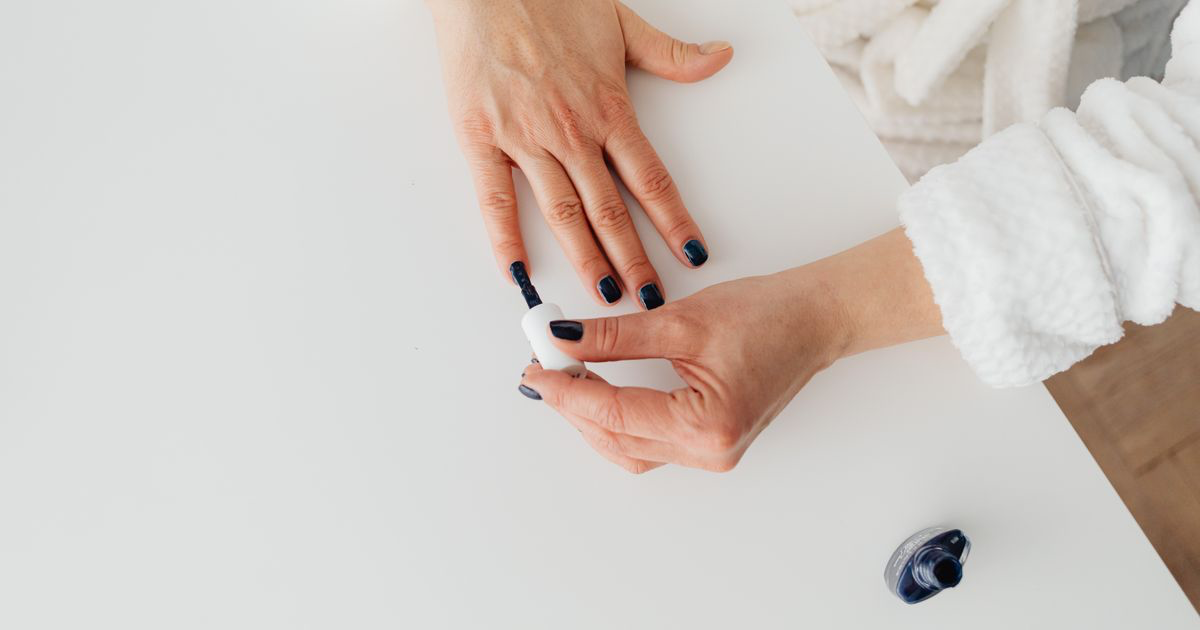
How to Photograph Black Nails
Quick answer: Photograph black nails against a mid or light background, with one directional light to the side so a highlight runs along the apex of each nail. Black holds no colour information for the camera, so shape is carried entirely by that highlight. Lock exposure on the skin, or the phone brightens black to grey.
A black set is all shape. The C-curve, the taper into the sidewalls, the smile line if you have cut one, the length you shaped for forty minutes.
Photograph it under the ceiling lights and it comes back as five black stickers, all the same, with no edges between them.
Why do black nails lose their shape in photos?
Because the only thing distinguishing one part of a black nail from another is reflected light, and most salon setups produce almost none of it.
A red or a nude nail gives the camera colour to work with. Lighter areas, darker areas, a shift in tone from the apex down to the free edge. Black has none of that. Everything within the nail is close to the same value, so the photo has to rely on the highlight, which is just a reflection of whatever light source is nearby.
Overhead ceiling bulbs sit directly above the hand, so the reflection lands on the top of the finger and misses the nail plate. Without a highlight there is nothing to say the surface curves or that it is glossy, and the set records as a flat rectangle of colour.
There is a second problem underneath it. Phones meter for an average brightness, and a frame with a lot of black in it reads as too dark, so the camera lifts everything. Black comes out grey and slightly noisy, the same amplification that causes grainy nail photos.
What lighting makes black nails read as glossy?
One light, off to the side, and reasonably small.
Small hard light gives you a tight bright highlight with defined edges, and that stripe running down the apex of each nail is what tells a viewer the surface is curved and shiny. A big diffused source spreads the same reflection into a soft wash that says almost nothing.
A window at the side of the desk on an overcast day is usually too soft for black. Bright direct sun through the same window, or a small lamp with the shade off, is closer to what a black set needs.
Position it so the light comes across the hand rather than over it, then watch the screen and roll the wrist slowly. The highlight travels from the cuticle down the apex to the tip. Shoot when it sits along the middle of the nail on most fingers, the same wrist roll that works for cat eye nails.
Add a second reflection if the set is very glossy
A pale card standing just outside the frame on the opposite side gives a second, dimmer highlight along the far edge of each nail. That thin bright line separates one nail from the next and stops the middle three merging into a single shape.
A folded sheet of white paper propped against a polish bottle does it. So does the back of your service menu.
What background works with black nails?
Anything except black.
This is the single most common mistake, because a dark background feels dramatic and matched. The result is five nails that dissolve into the frame with no visible outline, and no amount of editing puts an edge back.
Mid grey is the reliable answer and separates black nails cleanly without stealing attention. Off-white gives a crisper silhouette, though a bright background pulls the meter around and needs watching. There is a fuller rundown in the best background for nail photos.
Skin does a lot of this work too. On deeper skin tones a black set has less natural contrast against the hand, so a lighter background matters more, and it is worth reading alongside photographing nails on different skin tones.
How should you expose a black nail photo?
Meter for the skin and let the nails sit dark.
Tap on the back of a finger rather than on a nail, which gives the camera a mid-toned surface to balance against. Then check the nails. If they look genuinely black rather than washed-out charcoal, the exposure is right, even if the screen feels a touch dark overall.
If you tap on the nails instead, the phone tries to make black into mid grey and brightens the whole frame by a large margin. Skin blows out, the background goes white, and the black turns muddy.
Turn HDR or scene enhancement off if your phone allows it. Both features exist specifically to lift shadows, and on a black set every shadow is doing a job. The controls are listed in iPhone camera settings for nail photos.
Does matte black need a different approach?
Yes, and it is close to the opposite problem.
Glossy black is carried by a highlight. Matte black has no highlight at all, so the shape has to come from a gradual falloff across the nail: brighter where the light hits, darker as the surface turns away. That means light from a lower angle, almost skimming across the hand, and a background bright enough for the silhouette to survive.
Matte also shows every fingerprint and every trace of oil, so wipe the nails before you shoot rather than after. More on this in how to photograph matte nails.
How do the editing options compare?
| Option | Time per photo | Skill needed | Keeps black truly black | Consistency across your feed | Cost |
|---|---|---|---|---|---|
| Straight out of the phone camera | None | None | Poor, auto brightening greys it out | Varies by room | Free |
| Instagram or TikTok filters | Seconds | None | Unpredictable, most lift shadows | Low | Free |
| Lightroom or Photoshop on a desktop | 5 to 15 minutes | High | Excellent with curves | High with a saved preset | Subscription |
| NailTech on your phone | About a minute | Low | Good, without crushing the highlight | High | App purchase |
The thing to watch in any of them is the shadow slider. Lifting shadows is the default move in almost every editing app, and on a black set it is the one adjustment that undoes the photo. Black is the finish that teaches you to edit selectively rather than globally, which is the whole argument in how to edit nail photos on your phone.
A two-minute setup for a black set
- Switch off the overhead lamp and put one smaller light to the side of the hand.
- Lay a mid grey or off-white surface down, never a dark one.
- Prop a white card just out of frame on the opposite side to catch the far edge of each nail.
- Tap the back of a finger to lock exposure, not the nails.
- Roll the wrist slowly and shoot a burst, then keep the frame where the highlight runs down the middle of most nails.
Where NailTech fits in
A black set gives an editing app almost nothing to work with, which is why so many photos of one end up looking worse after editing than before. Brightness lifts the black into grey, contrast eats the free edge, and any automatic enhancement assumes the dark area is a mistake to be corrected. What a black photo usually needs is narrower than that: a neutral white balance, the shadows left exactly where they are, and the skin around the nails brought back to a natural tone.
NailTech is a nail image editor, which means it is built around the way nails and hands actually behave in a photo.
- Keep black solid rather than lifting it into flat grey.
- Correct the bulb so a black set does not carry a brown or blue tint.
- Balance skin tone when metering for the nails has left the hand dark.
- Remove a distracting background without cutting into the free edge.
NailTech cannot draw a highlight that was never on the nail. If the light was overhead, the curve is not in the file, and the fix is moving one lamp before the client leaves.
Everything a viewer knows about the shape of a black nail comes from one bright stripe. Lose the stripe and a stiletto and a square look identical on screen.
Make your nail photos look salon-ready
Download NailTech and clean up the lighting, skin tone and background on every set you post, in a few taps.
Download on App StoreFrequently Asked Questions
How do you photograph black nails so they do not look flat?
Photograph black nails with one small directional light placed to the side of the hand, so a bright highlight runs along the apex of each nail. That highlight is the only thing describing the curve, since black carries no colour detail. Add a white card opposite to outline the far edge of each nail.
What background should you use for black nails?
Use a mid grey, off-white or pale neutral background for black nails. A dark background lets the nails dissolve into the frame with no visible outline, and editing cannot restore an edge that was never recorded. Mid grey gives clean separation without pulling attention away from the set.
Why do my black nails come out grey in photos?
Black nails come out grey because phone cameras meter for an average brightness and treat a dark frame as under-exposed, so they brighten everything. Locking exposure on the skin of a finger rather than on the nails gives the camera a mid-toned reference and keeps the black solid instead of washed out.
Should HDR be on for black nail photos?
Turn HDR and scene enhancement off for black nail photos. Both features are designed to lift shadow detail, and on a black set the shadows are what create the shape. Leaving them on flattens the contrast between the highlight and the rest of the nail, which is the main thing making the set read as glossy.
How do you photograph matte black nails?
Photograph matte black nails with a low, skimming light rather than a small bright one, since there is no highlight to catch. The shape comes from a gradual falloff across the surface. Use a light background so the silhouette stays visible, and wipe the nails first because matte shows every fingerprint.
Final Takeaways
- Use one small light from the side, because the highlight is the entire shape.
- Never shoot black against black. Mid grey or off-white keeps the outline.
- Meter on skin, not on the nails, or the phone will grey the whole set.
- Add a white card opposite the light to separate the middle fingers.
- Turn HDR off and leave the shadow slider alone in editing.
- Treat matte black separately, with a skimming light and a wipe first.

Hannah
Hannah is a co-founder of NailTech, the nail image editor that turns quick phone shots into portfolio photos. She worked in the beauty industry before moving into mobile design, and now owns product and design on the app.



