
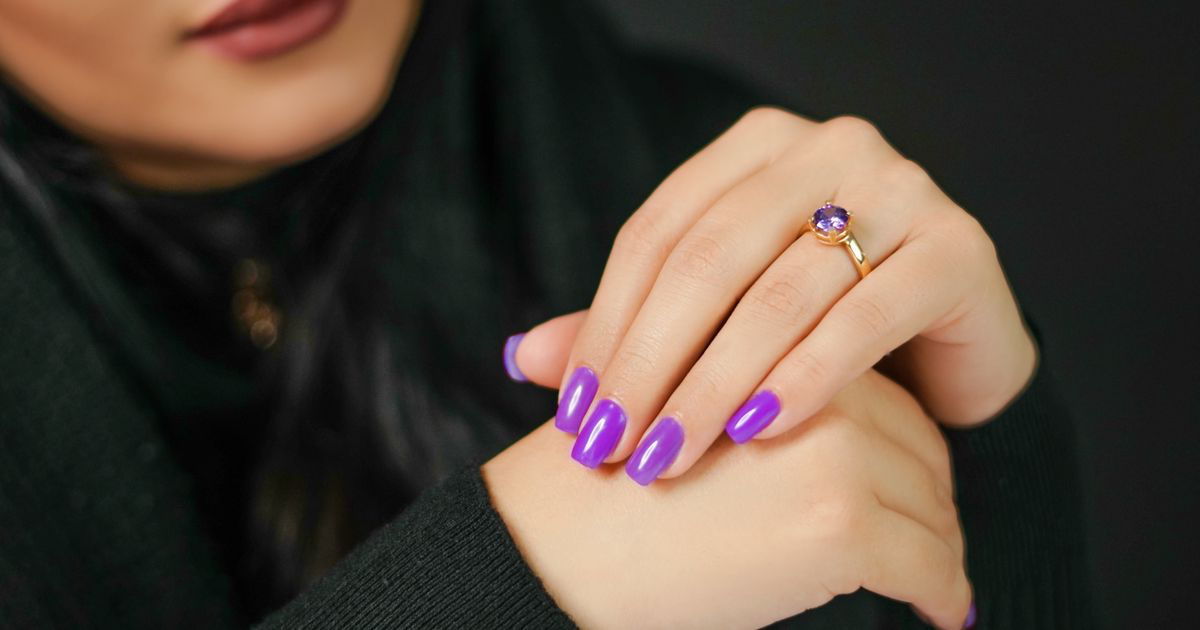
How to Photograph Matte Nails
Quick answer: Photograph matte nails with a single soft light coming from the side rather than from the front, so a gradient runs across the curve of each nail. Underexpose slightly to keep the colour deep, use a darker background, wipe every fingerprint off first, and skip cuticle oil until after the photo.
A matte set on the desk looks expensive. The colour sits deep and velvety and the light moves across it as the client turns their hand. The photo comes out looking like a colouring-in exercise: five flat shapes, one flat tone, no sense the nails have any curve.
Why do matte nails look flat in photos?
The matte top coat took the highlight away, and the highlight was doing the explaining.
On a glossy set, top coat reflects the light source back at the lens as a bright streak that bends where the nail bends, tracing the apex, the C-curve and the slope down to the free edge. Nobody consciously reads a highlight, but the eye uses it to build the shape.
Matte top coat scatters that light in every direction instead of bouncing it back in one. There is no streak to trace, so a nail with a beautiful apex and a nail filed dead flat can produce identical pixels. Your eyes never had this problem in the salon, because the hand kept moving and you saw the nail from six angles in two seconds, where a photo only gets one.
What lighting works best for matte nails?
Side light does the work. Put one soft source off to the side of the hand, roughly level with it, and turn the ceiling bulbs off.
Front-on light is what most techs default to, because a window in front of you or a ring light behind the phone is the easy option. On gloss it works well enough. On matte it is the worst choice, because light arriving from the same direction as the lens illuminates every part of the nail equally.
Move the light round to about 45 degrees and something useful happens. The part of the nail angled towards the light goes brighter, the part angled away goes darker, and that gradient is the shape information you lost when you swapped the top coat. It is the same soft daylight covered in best lighting for nail photos, just moved round the desk.
Keep it soft, though. A bare bulb or a phone torch from the side gives a hard edge between light and shadow instead of a gradient.
Does a ring light work on matte nails?
Not well, and it is nothing to do with the quality of the light. A ring light sits around the lens, so it is front-on lighting by definition, and it flattens a matte set more completely than anything else in the room. If it is the only decent source you have, take it off the phone and stand it to one side.
Why does matte polish look lighter and dustier on camera?
Scattered light reads as a pale veil sitting on top of the colour, and your phone's meter is trying to help.
Matte bounces light back diffusely across the whole surface, lifting the apparent brightness and dropping the saturation with it. A deep burgundy that looks almost black on the hand can photograph as a dusty mauve, and phones make it worse: the meter sees a large evenly lit area and pushes exposure up.
The fix is to hold exposure back. Tap the nail to lock focus, then drag the exposure slider down until the colour looks a touch deeper than it does in the room. On an underexposed matte shot you can recover brightness in the edit; on a washed-out one, the colour was never recorded. The same lock is described in iPhone camera settings for nail photos.
Should the background change for a matte set?
Yes, go darker than you would for gloss.
A matte nail has no bright reflection to separate it from what is behind it, so all the separation comes from tone. Shoot matte black or navy on a pale grey desk and the nails are the darkest thing in frame by a mile, so the phone exposes for the background and leaves them as silhouettes.
Put a mid-to-deep neutral behind the hand instead: charcoal, muted olive, deep terracotta, dusty plum. The nails stop being an extreme, exposure lands somewhere sensible, and the texture has a chance to show. Matte on matte is fine as long as the tones differ, the same brightness-gap logic as best background for nail photos.
Fabric earns its place here more than usual. A little visible weave gives the eye a texture reference, and against it a matte nail reads as velvety rather than as an absence of detail.
How do you keep marks off a matte set before you shoot?
Matte is the least forgiving finish in your kit. Every fingerprint, smear of oil and speck of filing dust shows as a shiny patch, because a contaminated surface stops scattering light and starts reflecting it.
So the order of work changes. Wipe the plate with alcohol on a lint-free pad once the top coat has cured, brush dust off the nail and skin, then shoot before anything touches it again.
Cuticle oil goes on after the photo, not before. This is the one place the usual advice in how to prep nails for photos reverses. Oil that touches a matte plate ruins it on camera, and once it has wicked across the surface you will be sitting there with a pad trying to undo it.
What is the best way to edit a matte nail photo?
You are rebuilding the depth the finish removed, which means working with contrast and shadow rather than anything labelled shine. No slider adds back a highlight the camera never recorded.
| Option | Time per photo | Depth and shape on matte | Colour on deep shades | Cost |
|---|---|---|---|---|
| Straight out of the phone camera | None | Flat, meter washes the colour | Shifts under salon bulbs | Free |
| Instagram or TikTok filters | Seconds | Worse, filters crush shadows | Pushes deep colours grey | Free |
| Lightroom or Photoshop | 5 to 15 minutes | Excellent with local adjustments | Excellent | Subscription |
| NailTech on your phone | About a minute | Good, built for nail surfaces | Built for gel shades | App purchase |
Whatever you use, the moves are the same: pull exposure down if the phone lifted it, add a little contrast, deepen the shadows, leave the highlight slider alone. Artificial shine on matte looks like a satin top coat. How to edit nail photos covers the same sequence for glossy sets, where the highlight slider becomes the useful one instead of the dangerous one.
A two-minute setup for a matte set
- Wipe the plate with alcohol and clear the filing dust off the hand.
- Move one soft light to the side at about 45 degrees, and turn the overheads off.
- Put a mid-to-deep background down, ideally with a little visible texture.
- Lock focus and drag exposure down a step so the colour stays deep.
- Shoot from fingertip height, five frames, then oil the cuticles afterwards.
Where NailTech fits in
Matte hands your camera less information than any other top coat, so what you have at the end of the appointment is a technically fine file of a nail that looks flatter than it is. Getting the depth back is an editing job, and a fiddly one in a general photo app, where raising contrast on the nails also darkens the knuckles and turns the hand blotchy.
NailTech is a nail image editor, so the adjustments land where they should.
- Deepen a matte colour the phone's meter washed out on the way to the camera roll.
- Correct the warm cast salon bulbs leave on charcoal and navy.
- Keep skin tone even while the nails get more contrast.
- Tidy the background so a dark set has something clean to sit against.
NailTech cannot invent an apex the light never described, which is why the side light in step two is worth the twenty seconds it costs.
Moving one lamp forty-five degrees round the desk puts a bright-to-dark gradient across each matte nail, and that gradient is the only thing left in the photo telling anyone the nail has an apex.
Make your nail photos look salon-ready
Download NailTech and clean up the lighting, skin tone and background on every set you post, in a few taps.
Download on App StoreFrequently Asked Questions
Why do my matte nails look flat in photos?
Matte nails look flat in photos because matte top coat scatters light in all directions instead of reflecting a highlight back to the lens. That highlight is what normally traces the apex and curve of a nail, so without it the camera records an even shape with no depth cue. Side lighting restores the gradient.
What lighting is best for matte nails?
A single soft light placed to one side of the hand, roughly level with it, is the best lighting for matte nails. Side light creates a bright-to-dark gradient across each nail that describes the curve. Front-on light, including a ring light mounted around the phone lens, illuminates the surface evenly and flattens matte completely.
Why does matte polish look lighter in photos than in real life?
Matte polish looks lighter in photos because diffuse scattering lifts the surface brightness and lowers saturation, and because phone metering pushes a large evenly lit area towards a middle brightness. Locking exposure on the nail and dragging the slider down a step keeps burgundy and charcoal from washing out.
Should you use cuticle oil before photographing matte nails?
Cuticle oil should be applied after photographing matte nails, never before. Oil that touches a matte plate leaves shiny patches, because contaminated areas stop scattering light and start reflecting it. Glossy sets benefit from oil on the surrounding skin, but on matte the risk of wicking across the nail outweighs the benefit.
Final Takeaways
- Move the light to the side. A matte nail has no highlight, so the shape comes from a gradient.
- Take the ring light off the phone. Front-on light is the fastest way to flatten matte.
- Drag exposure down a step so deep shades stay deep instead of drifting dusty.
- Go darker on the background and add a little texture to compare against.
- Wipe with alcohol and oil afterwards. Every fingerprint on matte shows as a shiny patch.
- Edit with contrast and shadows, never with a highlight slider.

Hannah
Hannah is a co-founder of NailTech, the nail image editor that turns quick phone shots into portfolio photos. She worked in the beauty industry before moving into mobile design, and now owns product and design on the app.



