
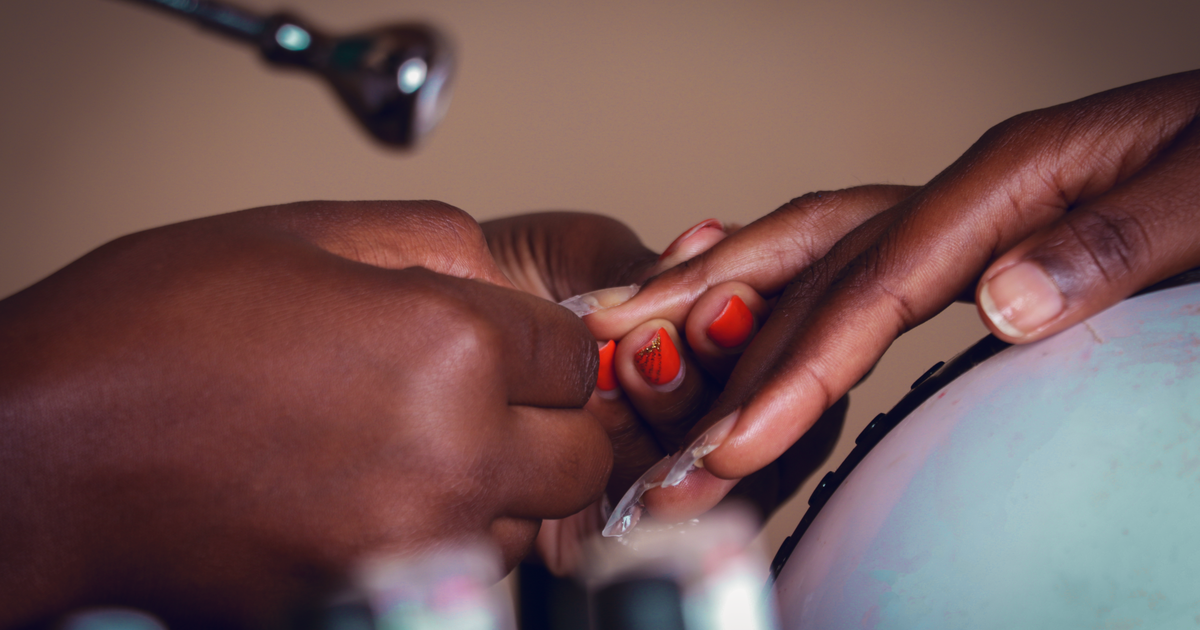
How to Photograph Nail Art
Quick answer: Photograph nail art close enough that the detail fills the frame, lit from the side by a window so the texture casts a small shadow, on a plain background that shares no colour with the art. Shoot one or two nails rather than all ten, keep the phone parallel to the nail plate, and lock focus on the busiest nail.
Four hours of freehand. Micro french on the ring finger, hand-painted florals across two nails, a tiny chrome accent you were quietly proud of. Then you take the photo and it reads as a smudge of pink.
Why does nail art photograph worse than plain colour?
A plain gel set only has to survive being lit. Nail art has to survive being lit and being resolved, which means recording lines thinner than a hair at a distance where phones struggle.
Usually a few things go wrong together: the detail ends up too small in the frame to read, the light arrives flat so raised lines have no edge, and spreading all ten nails across the shot asks the camera to hold focus across a curved, tilted surface it cannot manage.
The fix is to shoot closer and narrower than feels natural, with harder light than a plain gel set needs.
How close should you get to nail art?
Closer than a normal set shot, up to a limit.
Most phones focus down to about 10cm to 15cm before they hunt. Nail art usually wants to be nearer, so the answer is macro mode on newer iPhones and Pro-series Android phones, or the 2x lens from further back on everything else.
The 2x lens from 20cm beats the main lens from 8cm. The wide lens distorts anything close to it and cannot focus tight, whereas stepping back and zooming optically keeps the proportions honest. If your phone only has a digital 2x, crop in the edit instead.
Fill the frame with the art. If the design lives on two nails, the other eight can be half out of frame. One perfectly rendered nail beats ten where nothing is legible.
When does macro mode help and when does it hurt?
Macro mode helps when a single nail fills most of the frame: a chrome butterfly, a 3D charm, an inlaid flower. It hurts on a full hand, because the depth of field (the slice of the photo that is sharp) becomes so thin that the index finger is sharp and the little finger is not. Macro for one or two nails, 2x lens for three or more.
What lighting shows nail art detail?
Side light, not the flat from-the-front light that flatters a plain gel set.
Sit so a window is off to one side at roughly 45 degrees rather than directly behind you. Every raised line, layer of gel and charm edge then throws a small shadow, and the shadow is what tells a viewer the art has texture. Light straight on erases exactly that.
Keep it soft, though. Direct sun through glass gives shadows so hard the detail disappears into black instead. A bright window on an overcast day is ideal, and a sheer curtain over a sunny one does the same job.
Turn the salon overheads off, for the reason covered in best lighting for nail photos: mixing a warm bulb with cool daylight gives a colour cast no edit fully rescues.
What about glossy top coat?
Top coat is a mirror, and it reflects whatever is in front of it, usually a large bright rectangle of window sitting directly over your finest line work.
Tilt the hand a few degrees at a time and watch the screen. There is almost always a position where the reflection slides off the art and onto the free edge. Move the hand rather than the phone, because it adjusts in smaller increments.
What background works for busy nail art?
Something that does not compete: plain, matte, and in a colour the art does not contain.
Blush pink under pink florals is the most common mistake in nail content, because the art loses its outline and merges into the surface behind it. Mid-grey, soft stone, black card and warm cream all separate cleanly from most designs.
Dark backgrounds suit pastel and neon art, light backgrounds suit gothic or chrome-heavy sets. If the art contains four colours, a neutral is the only safe answer, and best background for nail photos covers the materials. Props are usually a mistake: a flower next to a floral set halves the attention.
How do you keep every painted nail sharp?
Get the nails onto the same plane and give the camera something firm to lock onto.
Rest the hand flat on the table or a folded towel, then curve the fingers slightly so all the nail plates face roughly the same direction. Fingers at wildly different heights are the biggest cause of two sharp nails and three soft ones.
Tap and hold on the most detailed nail until AE/AF Lock appears, so the phone stops refocusing when you breathe. Then take four or five frames, moving a centimetre between each, because phone autofocus at close range genuinely misses. If the light is dim, the shot is more likely blurred than misfocused, which why do my nail photos look blurry covers.
What is the fastest way to edit nail art photos?
Whatever you pick has to fit the gap between one client leaving and the next arriving.
| Option | Time per photo | Colour accuracy on art shades | Consistency across your feed | Cost |
|---|---|---|---|---|
| Straight out of the phone camera | None | Poor under salon bulbs | Varies with the light that day | Free |
| Instagram or TikTok filters | Seconds | Poor, filters shift hues globally | Only if you use one filter forever | Free |
| Lightroom or Photoshop | 5 to 15 minutes | Excellent | Good once you build presets | Subscription |
| NailTech on your phone | About a minute | Built around gel, chrome and art shades | The same corrections each time | App purchase |
Desktop editing wins on control and loses on the resource you do not have, which is time between appointments. If you have never settled on a routine, a nail photo editing routine is the short version: four adjustments, always in the same order, on the phone the photo is already sitting on.
Which shots does a nail art set actually need?
More than one, and each has a job.
- The hero: one or two nails filling the frame, side lit, first in the carousel.
- The full hand: all five nails legible at around 45 degrees from past the fingertips.
- The angle shot: from the side, showing apex and the thickness of any 3D work.
- A hand at rest: holding a cup or against clothing, so it reads as wearable rather than as a product photo.
Four frames, maybe ninety seconds, and that is a carousel, a Reel cover and a portfolio entry from one set.
A two-minute nail art setup
- Lay down a plain neutral card in a colour that appears nowhere in the art.
- Turn the overhead off and sit with a window at 45 degrees so the detail casts a small shadow.
- Switch to the 2x lens for a full hand, or macro for a single nail, at around 20cm.
- Tap and hold on the busiest nail to lock focus, then tilt the hand until the window reflection slides off the art.
- Shoot the four frames: hero, full hand, side angle, hand at rest.
Where NailTech fits in
Nail art is time-sensitive content. Whatever you captured before the client stood up is the only record of four hours of work. What phones do badly is fine detail under salon light: edges soften, warm bulbs pull whites yellow, and a busy background steals attention from the design.
NailTech is a nail image editor for exactly that gap, built for phone shots taken in real salons.
- Fix warm salon colour casts so hand-mixed art shades stay true to the pots you used.
- Bring back local contrast on fine lines without making the whole photo crunchy.
- Tone down top coat glare where the window landed on the design.
- Clean up a cluttered background behind the hand.
NailTech edits nail photos. It will not paint a straighter line, and a set that is out of focus is still out of focus.
Shoot the two nails you spent the longest on, close enough that the linework fills the frame, and let the other eight fall out of shot.
Make your nail photos look salon-ready
Download NailTech and clean up the lighting, skin tone and background on every set you post, in a few taps.
Download on App StoreFrequently Asked Questions
How do you photograph nail art with a phone?
Photograph nail art with a phone by using the 2x lens from around 20cm, sitting with a window at 45 degrees to one side so raised detail casts a small shadow, and resting the hand on a plain neutral background. Tap and hold on the most detailed nail to lock focus, then take four or five frames.
Should you use macro mode for nail art?
Macro mode suits nail art when one or two nails fill the frame, such as a 3D charm or a single painted feature nail. On a full hand, macro mode makes the sharp zone so shallow that only the nearest fingers stay in focus, so the 2x lens from slightly further back is the better choice.
What background is best for nail art photos?
The best background for nail art photos is plain, matte and in a colour the art does not contain, such as mid-grey, stone, cream or black card. Matching the background to a colour in the design removes the outline of the art and makes the nails merge into the surface behind them.
Why does nail art look flat in photos?
Nail art looks flat in photos when the light hits it straight on, because raised lines, layers and charms produce no shadow and the camera records them as printed pattern. Moving so the light arrives from about 45 degrees to one side restores the small shadows that make texture visible.
Final Takeaways
- Shoot the art, not the hand. One legible nail beats ten unreadable ones.
- Light from the side at 45 degrees. Front light erases the texture you worked for.
- Use the 2x lens, not the wide, which distorts and misfocuses up close.
- Pick a background colour the art does not use. Matching tones dissolve the outline.
- Lock focus on the busiest nail and take five frames.
- Get four shots per set, so one appointment produces a carousel rather than a single post.

Hannah
Hannah is a co-founder of NailTech, the nail image editor that turns quick phone shots into portfolio photos. She worked in the beauty industry before moving into mobile design, and now owns product and design on the app.



