
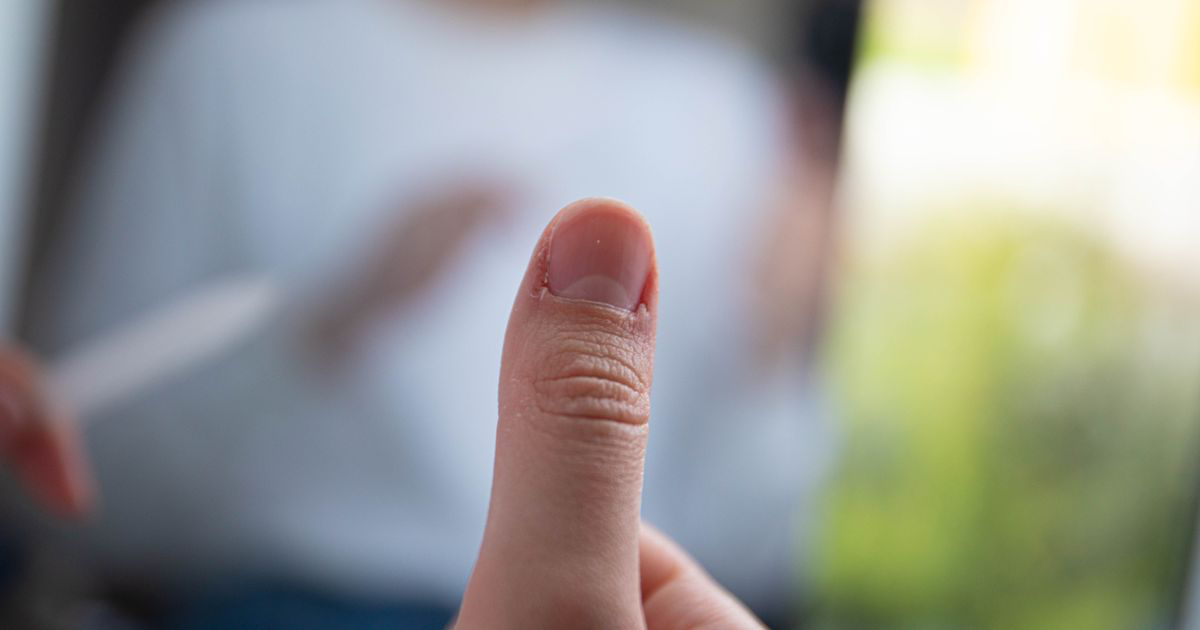
Why Do My Nail Photos Look Blurry?
Quick answer: Nail photos look blurry for three reasons: the phone focused on the wrong thing, you were too close for the lens, or the salon was dim enough that a slow shutter recorded your hand shake. Back off to around eight inches, tap the screen on the nails to lock focus, and add light.
You zoom in on the photo after the client leaves and the knuckle is razor sharp. The nails, the only part you cared about, are mush. Your phone did not take a bad photo. It just guessed wrong about what you were photographing.
Why does my phone focus on the wrong part of the hand?
Autofocus picks contrast, not importance. It looks for the strongest light-to-dark edge in the frame, and a dark ring, a knuckle crease or the edge of the desk beats a smooth glossy nail nearly every time. Glossy finishes make it worse, because gel and chrome reflect light rather than showing texture, so there is less to grab hold of.
It also refocuses constantly. Every time the hand shifts a centimetre the phone starts hunting, and pressing the shutter mid-hunt gives a soft frame.
The fix takes a second. Tap the screen directly on the nails, then hold: on iPhone until AE/AF Lock appears, on Android until the focus square locks.
Am I holding the phone too close?
Almost certainly. Every phone lens has a minimum focus distance, and inside it the image cannot be sharp no matter how still you hold the thing. On most phones that limit is around four to six inches on the main lens, and nail techs routinely shoot from three. Back off to eight or ten inches and crop afterwards.
Use the 2x or telephoto lens if your phone has one. It fills the frame with nails while you stand further back, and it flattens the hand slightly in a way that flatters fingers.
Macro mode is the exception to the distance rule. Phones with a dedicated macro focus much closer but give a razor-thin zone of sharpness, so one or two nails are crisp and the rest are not. Useful for a single-nail detail shot, wrong for a full set.
Why is only part of the set in focus?
Depth of field is the slice of the photo that comes out sharp, and the closer you are the thinner that slice gets. At nail-photo distance it can be less than a centimetre, which is why one finger is perfect and the next is soft.
So line the nails up on the same plane. If the index sits two inches nearer the lens than the little finger, one of them loses. Curving the hand so all five plates sit at a similar distance fixes it, with the phone parallel to that plane rather than tilted across it.
Light helps too. In bright conditions the phone keeps more of the hand sharp at once, and in a dim salon it cannot.
Is it blur, or is it camera shake?
They look similar on a phone screen and have different causes.
Focus blur is soft in one area while another is sharp: your nails are mush and the knuckle is crisp.
Motion blur smears in a direction. Edges trail, and the whole frame is affected. That means the shutter was open too long, which almost always means the room was too dark, and the camera recorded every tremble in your hand and the client's while it was.
Three things fix it, in order: more light, elbows braced on the desk, and the volume button or a two-second timer instead of jabbing at the screen.
What is actually causing your blur?
| Symptom | Likely cause | Fix | Time |
|---|---|---|---|
| Nails soft, knuckle sharp | Autofocus locked on the wrong spot | Tap and hold on the nails to lock focus | 1 second |
| Whole photo soft, no sharp area | Phone closer than its minimum focus distance | Back off to 8 to 10 inches and crop after | 5 seconds |
| Some nails sharp, others soft | Shallow depth of field, nails on different planes | Curve the hand so all nails sit level | 15 seconds |
| Smeared edges with trails | Slow shutter in a dim room, hand shake | Add light, brace elbows, use the timer | 30 seconds |
| Sharp on screen, soft when posted | Heavy crop or app compression | Shoot wider, crop less, upload full quality | Ongoing |
Work out which one you have before you buy anything, because almost none of these needs new gear. Blur is also the one fault on this list that no editor puts back, so it is worth separating from the problems that do wait for you afterwards, such as colour shifting on screen. The order for fixing those is in correcting photos afterwards.
Does cleaning the lens really matter?
More than any setting on the phone. Your camera lives in a salon, so it picks up cuticle oil, acrylic dust, hand cream and top coat residue, and you handle it with hands that have been in all the same things.
A greasy lens does not show up as a visible smudge. It shows up as soft, hazy, low-contrast blur across the whole frame, worse whenever a bright light is in shot.
Wipe it before every set of photos, with a microfibre cloth rather than your sleeve, which redistributes the oil. Check the case too, because a case lip over the lens edge quietly softens one corner of every photo.
A two-minute sharpness routine
- Wipe the lens with a microfibre cloth before the hand goes down.
- Turn the light up. Move to the window, switch the overhead off, and get the room bright enough that the shutter can stay fast.
- Stand back to eight or ten inches and switch to the 2x lens if you have one.
- Curve the hand so all five nails sit on the same plane, then tap and hold on the nails until the focus locks.
- Brace your elbows on the desk and shoot four frames with the volume button, then zoom in on one and check the free edge is crisp before the client leaves.
Where NailTech fits in
Most of the sharpness problem comes down to where you stand and how much light falls on the hand, both fixable in the room in ten seconds. What no phone can do is recover detail that was never recorded. Genuine blur is unfixable; what is fixable is everything around it, including the flat low-contrast look of a dim salon shot and a background that makes soft edges look worse than they are.
NailTech is a nail image editor built for that step, on the phone you already shot with.
- Lift contrast and clarity so a slightly soft shot reads crisp.
- Correct the colour cast from warm salon bulbs.
- Even out skin tone without a plastic finish.
- Clean the background so nothing competes with the set.
No editor invents focus. Get the shot sharp in the room, then polish it.
Most phone lenses stop focusing somewhere around four to six inches, and a nail tech leaning in from three has already lost the photo before the shutter fires.
Make your nail photos look salon-ready
Download NailTech and clean up the lighting, skin tone and background on every set you post, in a few taps.
Download on App StoreFrequently Asked Questions
Why do my nail photos look blurry?
Nail photos look blurry for three main reasons: the phone's autofocus locked onto a knuckle or ring instead of the nails, the phone was held closer than its minimum focus distance, or the room was too dim so a slow shutter recorded hand shake. Tap to lock focus on the nails, shoot from eight to ten inches, and add light.
How close should I hold my phone to photograph nails?
Hold the phone about eight to ten inches from the nails. Most phone main lenses cannot focus closer than roughly four to six inches, so shooting from three inches guarantees a soft image. Shoot from a comfortable distance and crop afterwards, or use the 2x lens to fill the frame from further back.
Why is only one nail sharp in my photo?
Only one nail is sharp because depth of field, the slice of the image that is in focus, becomes extremely thin at close distances. If the nails sit at different distances from the lens, only some can be sharp. Curve the hand so all five nail plates sit on the same plane, and shoot with the phone parallel to them.
Does a dirty phone lens make nail photos blurry?
Yes. Cuticle oil, acrylic dust and hand cream on a phone lens create a hazy, low-contrast softness across the entire photo rather than a visible smudge. Nail salons are especially harsh on lenses. Wipe the lens with a microfibre cloth or glasses wipe before every photo session, and check that the phone case is not overlapping the lens.
Final Takeaways
- Tap and hold on the nails. Autofocus will pick a knuckle every time if you let it.
- Back off and crop. Closer stops being sharper once you pass the lens minimum focus distance.
- Level the nails. All five on one plane is the only way to get a whole set sharp at close range.
- Blur with trails means light, not focus. Brighten the room before you touch a setting.
- Wipe the lens every time. Salon residue costs you more sharpness than any camera setting will give back.
- Check one photo zoomed in before the client leaves, while reshooting is still an option.
For the full technique run-through, read how to photograph nails. If your salon is dim, start with the best lighting for nail photos, and lock in the settings using iPhone camera settings for nail photos.

Hannah
Hannah is a co-founder of NailTech, the nail image editor that turns quick phone shots into portfolio photos. She worked in the beauty industry before moving into mobile design, and now owns product and design on the app.



