
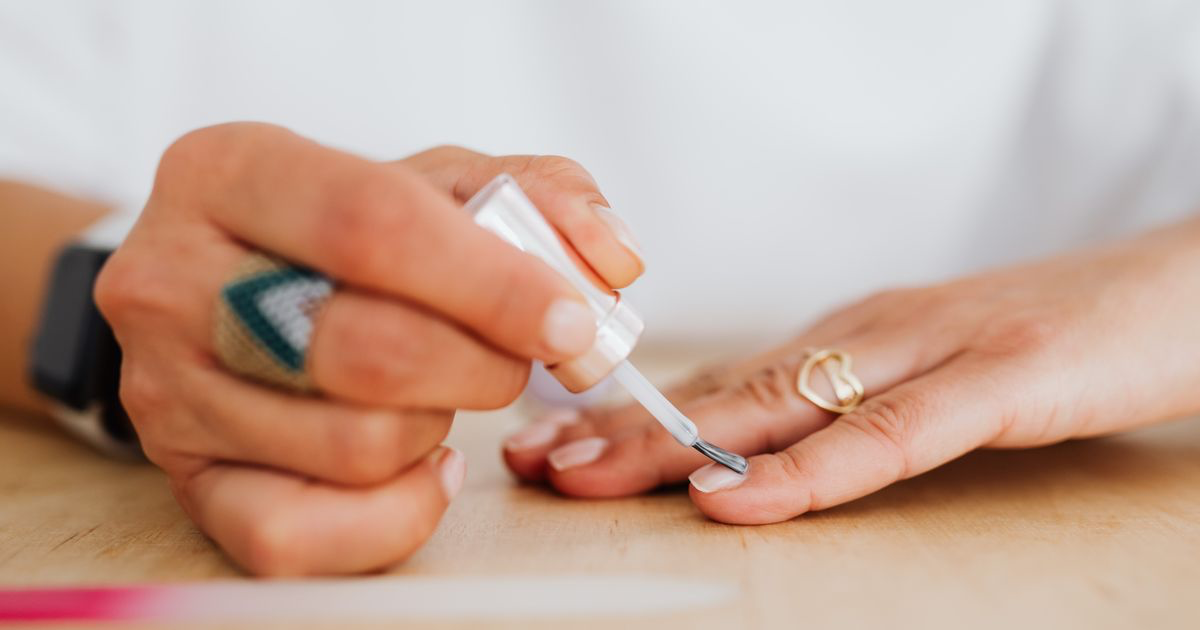
How to Photograph BIAB Nails
Quick answer: Photograph BIAB nails side on, roughly level with the hand, so the apex you built shows as a curve against the background. Use one soft light angled to catch the shine as a streak rather than a blob, and lock white balance so milky and nude shades do not go yellow.
The set is a good one. Neat apex, thin at the cuticle, glass shine, the client's own nails looking stronger than they have in a year. On the phone it turns into a hand with slightly shiny nails, and nothing in the frame telling anyone you did anything at all.
Why is BIAB harder to photograph than a coloured set?
The work on a BIAB set is structural, and a camera only records surfaces.
A bright coloured set carries itself: there is a shape, a colour and a design, and even a mediocre picture communicates something. A builder gel overlay in sheer nude has none of that. What the client paid for is an apex, a thin cuticle line, straight sidewalls and a top coat you can see your face in, all invisible from directly above.
Then there is colour. Nude, milky and sheer pink shades sit within a few steps of the skin they are on, so the boundary between nail and finger softens until the set looks like slightly tidy natural nails. Neither problem is a camera fault, and both are cheap to fix.
What angle shows the apex on a BIAB overlay?
Side on, or close to it: drop the phone until the lens sits level with the hand and shoot across the nails rather than down onto them.
From that height the apex appears as a curve rising off the natural nail and falling to the free edge, silhouetted against whatever is behind the hand. That is the most persuasive shot you can take of a BIAB set, and the only one proving the structure exists.
Ask for the hand side on with the fingers staggered, so one nail sits proud and the others recede behind it. A single nail in profile, filling the frame, works even better as a second shot. You still want the 45 degree hero shot from past the fingertips, covered in best angle for nail photos, and the same apex logic applies to tips in how to photograph gel-x nails.
How do you show the cuticle line without it looking like lifting?
Light it from the fingertip side rather than from behind the hand.
A thin, well-blended BIAB edge at the cuticle is a selling point, but a shadow falling into that groove from behind reads as a dark seam, and a dark seam looks like lifted product. Turn the hand so the light rolls into the cuticle area and the edge shows as a smooth transition.
On an infill, get close. At normal distance nobody can tell whether the regrowth was filled well. At two nails filling the frame, they can.
Why do nude and milky BIAB shades disappear on camera?
There is barely any tonal difference between the product and the finger under it, and phones handle low-contrast subjects badly.
Two things bring them back. First the background: something behind the hand several steps darker or lighter than the skin, so each nail's outline reads even where the polish nearly matches. Charcoal, muted olive and deep dusty pink all work. Pale nude nails on a white towel is the combination to avoid.
Second, white balance. Sheer and milky shades are the most cast-sensitive product in your kit, with little pigment to anchor the colour. Under a warm bulb a cool milky pink turns beige and a clear overlay turns yellow, the last thing anyone wants on a natural-look service. The mechanism is in why do my nail photos look yellow. Flash is worse than the bulb.
How do you photograph the shine without blowing it out?
Make the light source bigger, then let the highlight travel across the nail.
Glass shine on builder gel is a mirror finish, so what appears on the nail is a picture of whatever is lighting it. A bare bulb or a phone torch shows up as a hard white dot that burns to pure white, taking the colour with it. A window with a sheer curtain, or a lamp bounced off a wall, shows up as a long soft streak following the apex. That streak proves the top coat is glossy and traces the shape at once.
Roll the hand a few degrees at a time and watch the streak move. There is a position where it runs cuticle to free edge along the crest of the apex, and that is the frame to keep. If it has spread into a white patch you cannot see through, the light is too close, and the fix is the same one used for glare on nail photos.
Should you shoot a BIAB infill as a before and after?
Yes, and it is one of the few services where the before is genuinely persuasive.
Clients coming to BIAB usually arrive from bitten nails, peeling gel or acrylics they want off. Three weeks of grown-out overlay with the natural nail intact underneath argues for the service better than any finished shot.
Shoot the before at the start from the same angle, background and light, then match it at the end. Matching matters more than beauty, and before and after nail photos covers the details. Do not stage a worse before: the client notices.
What is the best way to edit a BIAB photo?
Colour first, then a small contrast lift so the apex separates from the finger.
| Option | Time per photo | Accuracy on sheer and milky shades | Keeps the apex visible | Cost |
|---|---|---|---|---|
| Straight out of the phone camera | None | Drifts warm under salon bulbs | Whatever you shot | Free |
| Instagram or TikTok filters | Seconds | Poor, tints nude shades unpredictably | Often flattens with contrast | Free |
| Lightroom or Photoshop | 5 to 15 minutes | Excellent | Excellent | Subscription |
| NailTech on your phone | About a minute | Built for gel and sheer shades | Good, nail-aware adjustments | App purchase |
Whatever you use, resist smoothing. A heavy skin-smoothing pass wipes out the fine shadow under the apex along with the texture of the hand, and a BIAB set with no shadow under it looks like a bare nail again. There is a version of skin work that leaves the shadow intact, and how to fix skin tone in nail photos sets out where the line sits.
A two-minute setup for a BIAB set
- Turn the overheads off and move the hand to indirect daylight or one large soft lamp.
- Lay down a background several steps away in tone from the skin.
- Shoot one nail in profile at hand level so the apex is silhouetted.
- Roll the hand until the shine runs as a streak along the apex, then take the hero shot.
- Move in close on the cuticle line, and check colour on screen before the client leaves.
Where NailTech fits in
Sheer product is where phone processing does the most damage. A nude overlay has so little pigment that automatic white balance has nothing to lock onto, so it guesses from the room, usually a warm bulb over a wooden desk. That leaves a file where the structure is fine and the colour is a shade off, the worst kind of photo to fix in a general app: nudging warmth out of the nails drains it from the skin, and the client ends up grey.
NailTech is a nail image editor that treats the nails and the skin as separate problems.
- Pull the yellow out of milky and nude shades without draining the hand.
- Even skin tone around the cuticle so redness from filing does not date the photo.
- Add local contrast on the nail so the apex still reads after the crop.
- Clean the background when the desk is doing you no favours.
None of that replaces the profile shot: editing rescues a colour cast, but nothing recovers an apex photographed from directly above.
The one photo that sells a BIAB set is the boring one: a single nail in profile at hand height, where the apex you spent twenty minutes building is finally visible as a curve.
Make your nail photos look salon-ready
Download NailTech and clean up the lighting, skin tone and background on every set you post, in a few taps.
Download on App StoreFrequently Asked Questions
How do you photograph BIAB nails so the structure shows?
Photograph BIAB nails side on, with the lens level with the hand, so the apex appears as a curve silhouetted against the background. A top-down shot compresses the overlay into a flat oval and hides the structure entirely. One nail in profile, filling most of the frame, is the most convincing single image of a builder gel set.
Why do my BIAB nails look yellow in photos?
BIAB nails look yellow in photos because sheer and milky shades contain little pigment, so they take on the colour of the room light. Warm salon bulbs sit around 2700K and a phone records that warmth literally. Shooting in indirect daylight with the overheads off, or setting white balance manually, stops the cast at the source.
What background is best for nude BIAB nails?
A background several steps darker or lighter than the client's skin is best for nude BIAB nails, because nude product and skin sit close in tone and need outside contrast to separate. Charcoal, muted olive and deep dusty pink all work well. A white towel behind a pale nude set makes the nails vanish into the hand.
How do you get the glass shine to show on builder gel?
Glass shine shows on builder gel when the light source is large and soft, such as a window with a sheer curtain or a lamp bounced off a wall. A big source reflects as a long streak that follows the apex, while a small hard source reflects as a burnt-out white dot. Roll the hand slowly until the streak runs cuticle to free edge.
Final Takeaways
- Shoot one nail in profile. It is the only angle that proves the apex exists.
- Put tonal distance between nails and skin with a darker or lighter background.
- Lock white balance before shooting sheer, milky or clear product.
- Chase the streak, not the dot. A big soft light traces the apex; a small one burns a hole in it.
- Go easy on smoothing in the edit, or you delete the shadow that gives the overlay its shape.

Hannah
Hannah is a co-founder of NailTech, the nail image editor that turns quick phone shots into portfolio photos. She worked in the beauty industry before moving into mobile design, and now owns product and design on the app.



