
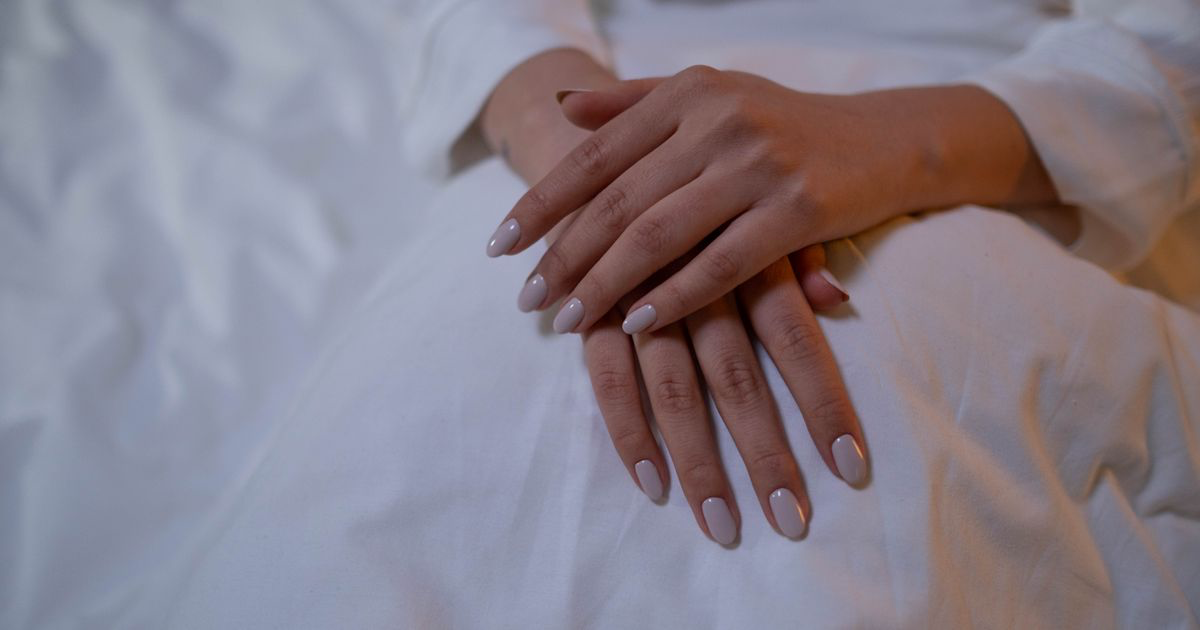
How to Photograph Gel-X Nails
Quick answer: Photograph gel-x nails at around 30 to 45 degrees from past the fingertips, on the 2x lens from about 20cm, in soft indirect daylight. That angle shows the length and the C-curve, which is what clients are buying, while soft light keeps the seam at the cuticle and the sidewalls from casting hard shadows that look like lifting.
A full set of gel-x looks expensive on the hand: clean apex, sharp sidewalls, no bulk at the cuticle. The photo says otherwise, coming back flat and short with a shadow line at the cuticle a client will read as a gap.
Why do gel-x extensions photograph flat?
Because what makes a gel-x set good is shape, and shape needs light and angle to show up.
A soft gel tip is a curved shell whose quality lives in the C-curve, the apex, and how cleanly it blends into the natural nail. Photograph it from directly above under a flat overhead bulb and all of that disappears, because there is no shadow to describe the curve. What is left is a coloured oval.
Length disappears too, for the reason covered in why do my nails look short in photos: a wide lens enlarges whatever sits closest, so shooting down makes the knuckles big and the extensions small.
Then there is the seam. Gel-x has a defined edge where the tip meets the natural nail, and hard side light throws a thin dark line along it. In person nobody sees it; on camera it looks like a lifted tip after two weeks.
What angle shows a gel-x set best?
Low, from past the fingertips, at roughly 30 to 45 degrees. That keeps the full length in frame instead of foreshortening it, puts a gradient of light across the curve so the C-curve reads, and shows the underside of the free edge, where a client decides whether your tips look natural or chunky.
Move around until the sidewalls are visible on at least the index and middle finger, because sidewalls are where gel-x application either looks precise or does not.
Take one profile shot per set. Get almost level with the hand and shoot along the fingers so the apex and the arch show as a silhouette. It is the shot that proves your structure, and almost nobody posts it.
How do you photograph the length without exaggerating it?
Keep the phone roughly the same distance from the fingertips as from the knuckles. Extreme low angles taken from close up lengthen a set past what the client will get, which turns into a disappointed appointment. Stay around 20cm on the 2x lens and let the angle do the work. Best angle for nail photos has the full geometry.
What lighting suits soft gel extensions?
Soft, broad, and coming from the side rather than head on. Sit the client near a window with indirect daylight and turn the overheads off. A wide source wraps the curve of the tip so brightness falls off gradually from the apex towards the sidewall, and that gradient is what reads as three dimensional.
Angle the hand so light arrives from one side at roughly 45 degrees, since light from behind the phone flattens everything it touches. Keep it soft, though, because hard side light is what draws the dark line along the seam.
Under a salon lamp, diffuse it. Baking paper over the bulb turns a small hard source into a wide one, softening both the seam shadow and the glare on the top coat. More in best lighting for nail photos.
How do you keep the cuticle seam from looking like lifting?
Soft light, and a clean cuticle line before you shoot. The seam shows when a hard shadow lands in the tiny step between the tip and the natural nail, and soft light removes most of that. Rotating the hand so light comes over the fingertips rather than from the cuticle side removes the rest.
Prep matters more on gel-x than almost anything else. Filing dust settles in the cuticle line and photographs as a pale streak, and oil right at the seam catches light and reads as a shine gap. Wipe the nail, oil the surrounding skin rather than the seam, and give it a minute. The how to prep nails for photos checklist covers the rest.
Which shots should you take of every gel-x set?
Four, together taking about two minutes: the hero at 45 degrees from past the fingertips, a tight two-nail frame on the sidewalls and cuticle, a profile along the hand showing the apex, and a natural in-use shot with the client holding a coffee, which tells someone how the length lives on a hand.
Shoot both hands if the design is asymmetric, and take five frames of each, since one will always have a knuckle or a hot spot in the wrong place.
What does editing do for a gel-x photo?
It fixes the colour and protects the shape, and it should not go much further than that.
| Option | Time per photo | Skill needed | How it treats the C-curve and apex | Colour accuracy on gel | Cost |
|---|---|---|---|---|---|
| Straight out of the phone camera | None | None | Flattened by auto processing | Shifts with salon bulbs | Free |
| Instagram or TikTok filters | Seconds | None | Crushed, shadows go solid | Poor | Free |
| Lightroom or Photoshop on a desktop | 5 to 15 minutes | High | Full control of the falloff | Excellent | Subscription |
| NailTech on your phone | About a minute | Low | Keeps the gradient across the curve | Built for gel and chrome shades | App purchase |
Heavy contrast is the mistake to avoid. It deepens exactly the shadow at the seam that you spent the shoot trying to soften, and it turns the gentle falloff across the C-curve into a hard edge. Most of what a gel-x photo needs is small and local rather than a global punch, and the phone editing pass works through that in order.
A two-minute gel-x setup
- Wipe filing dust from the cuticle line and oil the surrounding skin, not the seam.
- Move to indirect window light, overheads off, with the light coming from one side.
- Switch to the 2x lens at about 20cm and drop the phone to fingertip height.
- Shoot the hero at 45 degrees from past the fingertips, five frames, checking the sidewalls are visible.
- Add the tight sidewall frame, one profile along the hand, and one in-use shot before the client packs up.
Where NailTech fits in
The shape work you did is already sitting in the file, and the problem is what the phone does to it on the way there. Phone processing adds contrast, which on a gel-x set deepens the seam and flattens the curve, and salon bulbs push a nude or milky tip warm, the exact shade range clients are pickiest about.
NailTech is a nail image editor built for this kind of shot.
- Correct salon colour casts so a nude gel-x set stays nude instead of turning yellow.
- Lift shadows gently so the cuticle seam does not read as a gap.
- Control highlights on glossy top coat without flattening the curve into matte.
- Even out skin tone and tidy the background so the shape of the tip is the first thing seen.
NailTech edits nail photos. It will not reshape an apex or straighten a sidewall, so the structure still has to be right at the desk.
Clients book gel-x for the shape of the tip, and shape only shows on camera when the light falls off gradually across the curve.
Make your nail photos look salon-ready
Download NailTech and clean up the lighting, skin tone and background on every set you post, in a few taps.
Download on App StoreFrequently Asked Questions
How do you photograph gel-x nails?
Photograph gel-x nails at 30 to 45 degrees from past the fingertips, on the 2x lens from around 20cm, in soft indirect daylight coming from one side. That combination keeps the full length in frame, shows the C-curve and sidewalls, and avoids the hard shadow that makes the cuticle seam look like lifting.
Why do gel-x nails look short in photos?
Gel-x nails look short in photos because a phone's wide lens enlarges whatever is closest to it, so shooting down onto a flat hand makes the knuckles large and the extensions small. Dropping the phone to fingertip height and pointing the fingers away from the lens restores the length.
How do you stop the gel-x seam showing in a photo?
Stop the gel-x seam showing by using soft, broad light instead of a small salon lamp, angling the hand so light comes over the fingertips rather than from the cuticle side, and avoiding heavy contrast in editing. Wiping filing dust from the cuticle line before shooting removes the pale streak as well.
What lighting is best for soft gel extensions?
The best lighting for soft gel extensions is soft indirect daylight from a window, placed to one side of the hand at roughly 45 degrees. A wide source produces a gradual falloff across the curve of the tip, which is what makes the C-curve and apex read as three dimensional on camera.
Final Takeaways
- Shoot at 30 to 45 degrees from past the fingertips. It is the only angle that shows length and C-curve together.
- Use broad, soft, side light. Falloff across the curve is what makes the tip look three dimensional.
- Keep the light off the cuticle side so the seam does not throw a shadow that reads as lifting.
- Wipe filing dust and keep oil off the seam before you shoot.
- Take the profile shot. It proves your apex, and almost nobody posts one.
- Go easy on contrast in the edit. It deepens the seam and flattens the curve at once.

Hannah
Hannah is a co-founder of NailTech, the nail image editor that turns quick phone shots into portfolio photos. She worked in the beauty industry before moving into mobile design, and now owns product and design on the app.



