
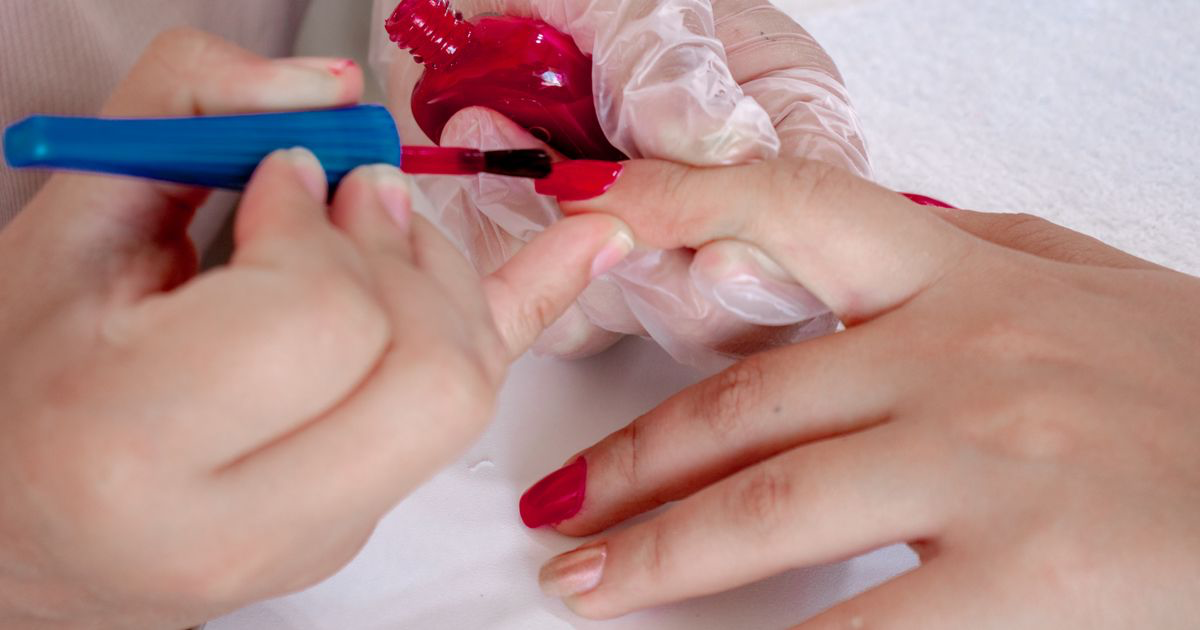
How to Fix Glare on Nail Photos
Quick answer: Glare on nail photos is a reflection of a small bright light, so fix it at the source. Move the hand away from the salon lamp, use a large soft window instead, and rotate the hand until the hot spot slides off the nail plate. A pure white blowout cannot be recovered.
The top coat is flawless, which turns out to be the problem, because every nail in the photo has a white blob sitting in the middle of it.
Zoom in and the colour underneath has gone. What was a deep burgundy is now a grey ring around a white circle.
What actually causes glare on nail photos?
A shiny top coat is a mirror, and a mirror shows you whatever is in front of it.
Your salon lamp, your ring light and the bare bulb over the desk are all small, bright and hard, and a small hard source reflected in a curved glossy surface comes back as a small, brutally bright dot. Because the nail curves in two directions, that dot lands somewhere on every nail, at a slightly different place each time.
The size of the reflection is set by the size of the light, not its brightness. A large window makes a large, soft, gentle reflection that spreads across the nail and reads as shine. A bulb the size of a golf ball makes a golf-ball-sized reflection with hard edges, and that reads as glare.
Turning the light down does not help much either. A dimmed bulb is still a small source, so you get a slightly less bright dot in the same place, and now the rest of the shot is underexposed too.
How do you get rid of glare before you take the photo?
Change the size of the light, then change the angle of the hand.
The first move is to swap the lamp for a window. Move the client to the nearest window with indirect daylight and turn the overheads off. A window a metre across is hundreds of times bigger than a bulb, so the reflection it leaves is wide, soft and flattering. This is the same principle behind the best lighting for nail photos, and it fixes glare and colour cast in one move.
If you cannot move, put something between the lamp and the hand. A sheet of baking paper, a white pillowcase, or a thin white plastic bag taped over the lamp turns a small hard source into a bigger softer one. It costs nothing and it works.
Then rotate. Reflections obey angles, so a small turn of the wrist moves the hot spot a long way. Watch the screen while the client slowly rolls their hand, and shoot the moment the bright patch slides down towards the free edge or off the nail entirely.
Why does the reflection move when you move?
Because a reflection sits at the angle where the light bounces off the nail and into your lens, so the hand and the phone both control it. If turning the hand ruins the pose, move yourself instead: step half a pace to the side, or lower the phone, and the glare shifts without the client changing anything. It is often faster than trying to describe a wrist position.
Should you use a matte top coat for photos?
Only if the client wanted matte. A matte top coat has no glare because it scatters light in every direction, which is why matte photographs so easily. It also loses the depth and wet look that sells gel work, so switching finish just to make photography easier is a bad trade.
The honest compromise is to shoot the glossy set properly and accept one controlled highlight. A nail with no shine at all looks like plastic, and clients read the sheen as the quality of the work. You are aiming for a soft elongated highlight running along the nail, not a hard white dot and not a dead flat surface.
How do you fix glare in editing?
By reducing highlights, assuming there is anything left to reduce. Bring the highlights slider down first. That pulls back the brightest part of the frame without darkening the polish, so a mild hot spot fades into the shine around it. Then lift shadows very slightly to rebalance, and leave contrast alone.
The limit is blowout. When a highlight has recorded as pure white, the file contains no colour information in that patch, so no slider can bring the burgundy back. All you can do is dull the white to a grey, which looks worse. This is why exposing slightly under matters: tap the brightest nail, hold for AE/AF Lock, and drag the exposure down a notch before you shoot. The iPhone camera settings for nail photos go through where that lock lives on each model.
For anything more than a small patch, a local brush is the tool. Painting a highlight reduction onto one nail beats pulling the whole image down and making the skin muddy. That preference for local over global runs through the rest of editing nail photos as well.
| Option | Time per photo | Skill needed | Handles a mild hot spot | Handles a blown-out white patch | Cost |
|---|---|---|---|---|---|
| Straight out of the phone camera | None | None | No | No | Free |
| Instagram or TikTok filters | Seconds | None | Barely, and colour shifts | No | Free |
| Lightroom or Photoshop on a desktop | 5 to 15 minutes | High | Yes, with local brushes | Only by cloning, which shows | Subscription |
| NailTech on your phone | About a minute | Low | Yes, tuned for glossy gel | No, nothing can | App purchase |
The pattern in that table is the point. Every tool handles a mild highlight and none of them recover a white patch, so the work has to happen before the shutter.
A two-minute glare fix
- Turn the salon lamp and overheads off and move the hand to indirect window light.
- Diffuse anything you cannot switch off with baking paper or a white cloth over the bulb.
- Tap the brightest nail and lock exposure, then drag it down a notch so the highlight keeps its edge.
- Ask the client to roll their wrist slowly while you watch the screen, and shoot as the hot spot slides towards the free edge.
- Take three frames at slightly different angles, because glare moves and one of them will be clean.
Where NailTech fits in
There will be a bulb over the desk, a mirror somewhere behind you, and a glossy top coat quietly reflecting both. Angling the hand deals with most of it, and the leftovers are an editing job.
Glare is the one problem where the fix genuinely has to start in the room, because a blown-out highlight is missing data rather than a bad setting. What editing can do is take a controlled highlight and make it sit properly against the rest of the nail.
NailTech is a nail image editor built for exactly this kind of shot.
- Pull back highlights on glossy top coat without flattening the shine into matte.
- Correct salon colour casts so the polish under the shine is the shade you actually used.
- Even out skin tone and redness so the nail is the brightest thing in the frame.
- Tidy the background so a reflective desk is not adding a second set of hot spots.
NailTech is a phone editor for nail photos. It cannot rebuild colour in a patch that recorded as pure white, which is why the exposure lock in step three matters more than anything you do afterwards.
The size of a light decides the size of the reflection it leaves on a nail, which is why a window flatters glossy gel and a salon bulb ruins it.
Make your nail photos look salon-ready
Download NailTech and clean up the lighting, skin tone and background on every set you post, in a few taps.
Download on App StoreFrequently Asked Questions
How do you get rid of glare on nail photos?
Get rid of glare on nail photos by replacing small hard light with a large soft source, usually indirect window light, and then rotating the hand a few degrees so the reflection slides off the nail plate. Locking exposure slightly under before shooting keeps the remaining highlight from blowing out to pure white.
Why do my gel nails look shiny white in photos?
Gel nails look shiny white in photos because a glossy top coat mirrors the salon lamp, and a small bright bulb reflects back as a hard white dot. The camera then exposes for the rest of the scene, letting that dot record as pure white with no polish colour left inside it.
Can you remove glare from a photo after taking it?
A mild hot spot can be reduced after taking a photo by lowering the highlights slider or brushing a local highlight reduction onto the nail. A patch that recorded as pure white cannot be recovered by any editor, because the file holds no colour information there to bring back.
Does a ring light cause glare on nails?
A ring light causes a distinctive circular reflection on glossy nails because the light source is a bright ring. Angling the hand until that ring slides down towards the free edge solves it, and diffusing the ring light with a sheer cloth makes the reflection wider and softer.
Should nails be matte for photographs?
Nails do not need to be matte for photographs, and switching finish purely for the camera loses the depth that sells gel work. A soft elongated highlight running along the nail is the goal, which comes from a large diffused light source rather than from removing the shine.
Final Takeaways
- Make the light bigger, not dimmer. A dimmed bulb is still a small hard source.
- Diffuse the lamp with baking paper if you cannot get to a window.
- Roll the wrist, or move yourself. Reflections shift with either.
- Lock exposure a notch under so the highlight keeps colour instead of clipping to white.
- Shoot three angles. One will have the hot spot in a place you can live with.
- Accept one soft highlight. Zero shine reads as plastic to a client.

Hannah
Hannah is a co-founder of NailTech, the nail image editor that turns quick phone shots into portfolio photos. She worked in the beauty industry before moving into mobile design, and now owns product and design on the app.



