
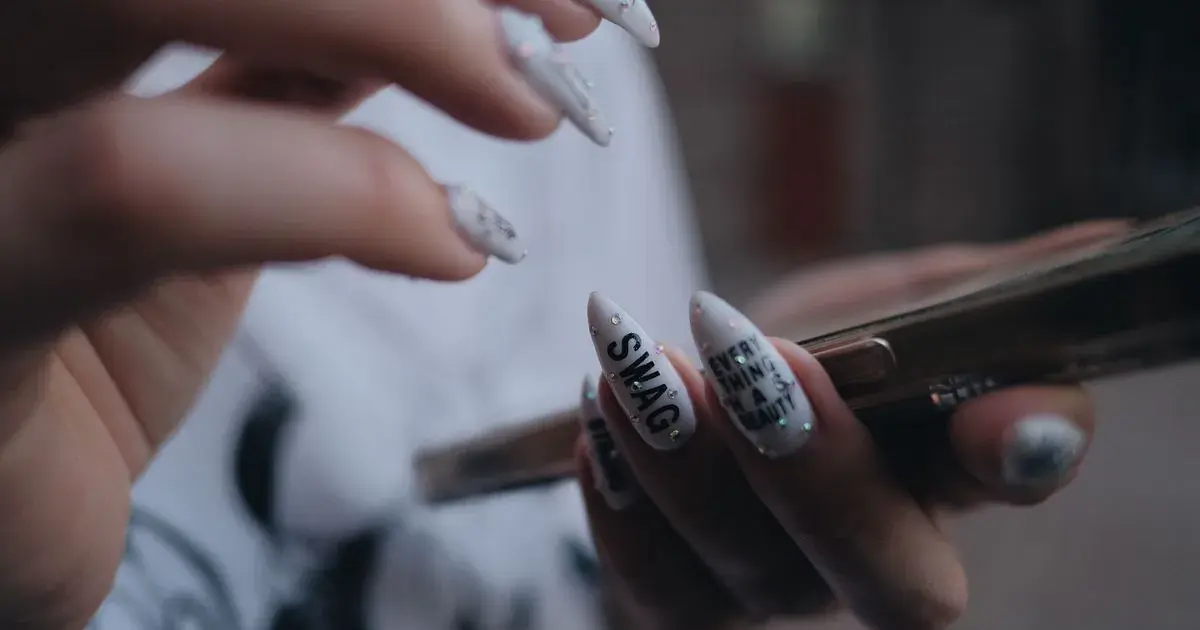
How to Edit Nail Art Photos
Quick answer: Edit nail art by fixing the colour cast first, then cropping tight enough that the detail is actually visible on a phone. Sharpening helps here more than on any other finish, because hand-painted linework is genuinely made of edges, but keep it under a quarter or the lines pick up halos.
You spent forty minutes on five nails. Tiny florals, a hand-painted checkerboard, a smile line so clean it could have been printed.
Then the photo goes up and on someone's feed the whole set is about the size of a postage stamp, the linework has gone slightly mushy, and half the comments are about the ring.
Why does nail art lose its detail in photos?
Several things shrink it at once, and they stack.
Scale is the biggest. A nail is roughly a centimetre across. On a phone feed the whole hand might occupy four centimetres of screen, which means the flower you painted is now about two millimetres wide. Detail that reads beautifully at arm's length disappears entirely at that size, and no amount of editing changes the arithmetic.
Compression is the second. Every platform re-encodes what you upload, and fine repeating detail is exactly what compression is worst at. A checkerboard, a leopard print, anything with lots of small high-contrast shapes, comes back softer than it went in.
Mixed colours are the third, and the most annoying. An opaque cream, a chrome accent and a sheer wash on the same hand all respond differently to the same temperature move, so whichever one you correct against, the others drift.
What is the right edit order for nail art?
Cast, crop, then detail. In that order, because each one changes what the next one needs.
Temperature and tint come first, as always, set against the client's skin rather than against any single painted element. Skin is the one reference in the frame you and your viewer both know the correct appearance of. Correct to that and the art lands close enough.
Crop is second, and it matters more on art than on any other kind of nail photo. The default framing most techs use, whole hand plus some desk, wastes most of the resolution on things nobody is looking at. Crop until the set fills the frame. If the art is on two or three accent nails, crop to those and post the full hand as the second slide.
Detail work comes last, once you know how much of the image is actually going to survive.
Sharpening: the one finish where it earns its keep
Most nail finishes hate sharpening. Gradients, magnetic sheens and sheer washes all get worse. Hand-painted linework is the exception, because a painted line genuinely is an edge and increasing local contrast across it does what you want.
Keep it modest anyway. Past about a quarter of the slider you start getting a pale halo running alongside every dark line, which reads as cheap and is very obvious on white. The general approach is in sharpening nail photos, and art is where you can push it furthest.
How do you handle a set with several different finishes?
Correct for skin, then decide which nail is the hero.
A design with a chrome accent, two matte nails and a glitter thumb cannot all be optimal in one edit. Pick the nail that the post is actually about and protect that one, then accept that the others will be slightly off. This is a normal decision, not a failure, and it is the same call a photographer makes on any subject with mixed materials.
If the chrome is the point, bring highlights down first so the reflections keep their shape, the same approach as editing chrome nail photos. If a matte nail is the point, leave highlights alone and watch that contrast does not give the matte surface a false shine. If glitter is the hero, keep sharpening low, since glitter turns into noise faster than anything else on the hand.
Backgrounds compete harder on art photos
A busy design already asks a lot of the viewer's eye. Put it on a cluttered desk with a lamp, a bottle and half a coffee cup in the frame and the art loses.
Art photos benefit more than plain sets from a clean, quiet background. Either shoot on one or clean it up afterwards, and choosing a background for nail photos covers what works.
How do the options compare on a nail art set?
| Approach | Linework holds up | Mixed finishes handled | Time per photo | Cost |
|---|---|---|---|---|
| Straight out of the phone | Soft, plus the salon cast | No | None | Free |
| Auto enhance | Sometimes, contrast can help lines | No, one correction for everything | Seconds | Free |
| Instagram or TikTok filters | Rarely, colours shift unpredictably | No | Seconds | Free |
| Snapseed or Lightroom Mobile | Yes, with selective adjustments | Yes, with effort | 6 to 10 minutes | Free or paid tier |
| NailTech | Yes | Calibrated for nail finishes | About a minute | App purchase |
A five-step edit for a nail art set
- Set temperature against the client's skin, not against the brightest colour in the design.
- Crop until the set fills the frame, and post a wider shot as a second slide rather than as the first one.
- Pick the hero nail and protect its finish, accepting that the rest of the hand will be slightly compromised.
- Add sharpening up to about a quarter, then zoom to full size and check for pale halos beside the dark lines.
- Clean the background so the design is the busiest thing in the photo.
Where NailTech fits in
Nail art is the one subject where a single hand can carry four different finishes, each of which wants a different correction, and where the detail that took the longest to paint is the detail most likely to disappear at feed size. That combination is what makes an art post hard to edit rather than any one slider being wrong.
NailTech is a nail image editor, so the corrections are calibrated against nail finishes rather than against a general photograph.
- Corrects the cast without dragging the painted colours off.
- Keeps linework crisp short of the point where halos appear.
- Holds chrome and glitter accents in the same frame as flat colour.
- Removes desk clutter competing with a busy design.
- Keeps a carousel consistent across every angle of the same set.
NailTech is a phone editor for nail photos, not a way to add detail the sensor never resolved. Art shot from too far back is a crop problem, and a crop can only ever throw pixels away.
The flower you painted is about two millimetres wide by the time it reaches someone's feed, which is why cropping tighter does more for a nail art post than any slider in any app.
Make your nail photos look salon-ready
Open NailTech and clean up the lighting, skin tone and background on every set you post, in a few taps.
Open NailTechFrequently Asked Questions
How do you make nail art look sharp in photos?
Make nail art look sharp by cropping tight so the design uses more of the frame, then adding sharpening up to roughly a quarter of the slider. Painted linework is genuinely made of edges, so it responds well to sharpening, unlike gradients or magnetic finishes. Check at full zoom for pale halos before posting.
Should nail art photos be cropped tighter than normal?
Nail art photos should be cropped tighter than plain sets, because the detail is small and every platform displays the image at feed size. Filling the frame with the nails puts more pixels on the part people are looking at. Post the wider hand shot as a second slide instead of leading with it.
How do you edit nails with several different finishes?
Edit a mixed-finish set by correcting temperature against the client's skin, then choosing one hero nail and protecting its finish. Chrome wants highlights brought down, matte wants contrast left alone, glitter wants sharpening kept low. No single global correction serves all three, so decide which nail the post is about.
Why does my nail art look blurry after uploading?
Nail art often looks blurry after uploading because platforms re-encode the file, and fine repeating detail such as checkerboard, leopard print or thin linework is what compression handles worst. Cropping tighter before upload gives the encoder more pixels per detail. Blur present before upload is a different problem, covered in why nail photos look blurry.
What background works best for nail art photos?
A plain, low-contrast background works best for nail art photos, because a busy design already occupies the viewer's attention and anything else in the frame competes with it. Solid white, soft grey and plain fabric all work. Cluttered desks are the most common problem and can be tidied in the edit if the shoot has already happened.
Final Takeaways
- Crop is the highest-value move on any art post, ahead of every slider.
- Correct against skin, which is the only reference your viewer already knows.
- Sharpening is allowed here, up to about a quarter, and no further.
- Pick a hero nail on mixed-finish sets rather than compromising everything.
- Keep the background quiet, since busy plus busy reads as noise.
- Lead with the tight shot and put the full hand second.

Hannah
Hannah is a co-founder of NailTech, the nail image editor that turns quick phone shots into portfolio photos. She worked in the beauty industry before moving into mobile design, and now owns product and design on the app.



