
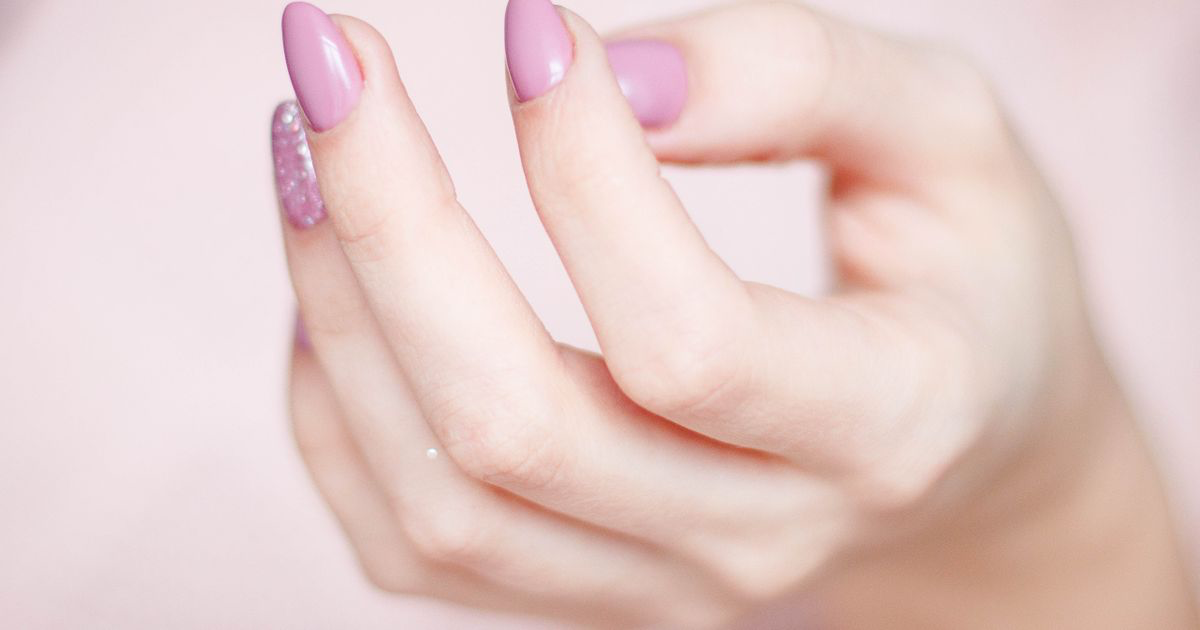
How to Use Macro Mode for Nail Photos
Quick answer: Use macro mode for one nail, never for a whole set. It switches your phone to the ultra wide lens, which distorts hands badly and leaves a depth of field only a few millimetres deep. For a full hand, back off to 30cm on the 2x lens and crop in afterwards instead.
You lean in to catch the tiny hand-painted flowers on the ring finger, the screen flickers, a little yellow flower icon appears, and suddenly the shot looks wider and softer than the one before it.
That is macro mode taking over, and it is genuinely brilliant for about one photo in ten. The trouble is it triggers by itself, usually on the nine photos where you did not want it.
What does macro mode actually do?
It is a lens switch, not a setting.
On iPhone, Apple's camera guide explains that the phone automatically hands over to the ultra wide camera when you move close to a subject, because that lens can focus far nearer than the main one. Android phones with a macro mode do something similar, either switching to a dedicated low-resolution macro lens or to the ultra wide.
That handover is where all the good and all the bad comes from. You get to focus from a couple of centimetres away instead of twelve. You also get a lens that is physically wide, usually lower resolution than the main camera, and much worse in dim light.
Nothing about macro mode makes the photo sharper. It just moves the closest point your phone can focus on. Everything else about the ultra wide lens is a downgrade.
When is macro mode right for nail photos?
When the frame is tight enough that one nail is the entire photograph.
Detail work is the obvious case. Hand-painted line art, tiny florals, a chrome ombré that fades across half a centimetre, the texture on a 3D charm. If the subject is one nail and the point of the photo is a detail you cannot see across a desk, macro earns its place.
Texture is worth it too. Matte finishes, encapsulated glitter, the grain of a sugar or velvet effect. These read as flat colour at normal distance and only become interesting when you are close enough that the surface itself is the subject.
Then there is the before shot on a natural nail: lifting, ridges, a split you are about to repair. Nobody wants that on the grid, but a macro of a problem is a genuinely useful thing to have in a client record.
When does macro mode ruin the photo?
Any time more than about two fingers are in frame.
The ultra wide lens exaggerates whatever is nearest to it, which on a hand means the closest fingertip swells and the ones behind it shrink away. On a full set that reads as a cartoon hand, and on long nails it makes the tips taper into nothing. That is the same problem covered in why do my nails look short in photos, just at a more extreme setting.
Depth of field is the second killer. At macro distances the zone that is actually in focus is only a few millimetres front to back. A nail is curved and a hand is angled, so one nail can be crisp while the two beside it are already soft. That is not shake and it is not a focus mistake, it is physics, and no amount of retaking will fix it.
Then there is light. You are now inches from the nail, which means your own phone and your own head are between the light source and the subject. The ultra wide lens is the weakest one in the phone in low light, so the result is a dim, noisy file. Why do my nail photos look grainy explains what that does to a dark gel.
| Approach | Best for | Distortion on a hand | Sharpness across five nails |
|---|---|---|---|
| Macro mode, 3cm | One nail, fine detail, texture | Severe | Poor, only a few mm in focus |
| Main lens, 15cm | Two or three fingers | Noticeable | Reasonable |
| 2x lens, 30cm, then crop | Full sets, portfolio shots | Minimal | Good |
| 2x lens, 30cm, no crop | Both hands, wider styled shots | Minimal | Good |
How do you stop macro mode turning on by itself?
On iPhone, open Settings, go to Camera, and turn off Auto Macro. The phone stops switching lenses on its own and instead shows you a small flower button when it thinks macro would help, which you can tap or ignore.
That one change fixes more nail photos than any other setting on the phone, because the automatic version tends to kick in exactly when you crouch down to fill the frame with a set. There are more of these in iPhone camera settings for nail photos.
On Android it varies. Some phones bury macro in the More menu, some have an auto lens switch in the camera settings, and a few will not let you disable it. If yours does it automatically, the workaround is distance: stay above about 12cm and the phone has no reason to switch.
The habit that replaces macro mode
Shoot further back and crop.
A modern phone main camera produces far more resolution than Instagram will ever display. Filling 60% of the frame with the set from 30cm on the 2x lens, then cropping to the middle, gives you a sharper and less distorted result than filling 100% of the frame from 5cm. You lose pixels you were never going to use.
Save macro for the moment you genuinely want one nail to be the whole photo, which in practice is the detail shot in a carousel, not the lead image.
A working routine for close-ups
- Turn Auto Macro off in Settings, Camera, so the phone stops making the decision for you.
- Take the whole set first at 30cm on 2x, from fingertip height. That is the shot that gets posted.
- Then pick one nail and go in close for the detail. Rest your hand or the client's on the desk, because at that distance the smallest wobble is visible.
- Move the light before you move closer. Put the window or panel to one side so your phone is not casting a shadow onto the nail.
- Take five frames, not one. At macro distances the focus plane shifts with every millimetre of breathing, so the keeper is a numbers game.
The part macro cannot help with
A close-up magnifies everything, and the things it magnifies first are dust in the cuticle line, a fingerprint in the top coat and a stray fleck of glitter on the skin. What looked immaculate across the desk turns into a list of small corrections the moment you are three centimetres away, and the ultra wide lens has already given you a darker, noisier file to fix them in. Those corrections are small and local, which is the kind editing nail photos deals with.
NailTech is a nail image editor for the clean-up after a close-up.
- Remove specks and dust that only became visible at macro distance.
- Lift a dim ultra wide frame without turning the shadows to noise.
- Correct the colour so a detail shot matches the wide shot beside it in the carousel.
- Tidy the desk edges that creep into frame when you shoot this close.
NailTech works on the file you already have. It cannot bring back the two nails that fell outside a shallow macro focus plane, which is why the full-set photo is worth taking properly before you lean in.
At macro distance you can hold a few millimetres of a curved nail in focus, which is less than the height difference between one fingertip and the next. That is why the full-set photo has to be shot from 30cm and cropped rather than taken from three centimetres and hoped for.
Make your nail photos look salon-ready
Download NailTech and clean up the lighting, skin tone and background on every set you post, in a few taps.
Download on App StoreFrequently Asked Questions
Should I use macro mode for nail photos?
Use macro mode for nail photos only when a single nail fills the frame, such as fine line art or texture detail. Macro mode switches the phone to its ultra wide lens, which distorts hands and leaves only a few millimetres in focus. For a full set, shoot from 30cm on the 2x lens and crop instead.
Why does my iPhone switch to macro mode by itself?
An iPhone switches to macro automatically because Auto Macro is enabled by default, and the phone hands over to the ultra wide camera whenever it detects you are close to the subject. Turn it off in Settings, then Camera, then Auto Macro. The phone will offer a flower button instead of deciding for you.
Why are only some nails sharp in my macro photos?
Only some nails are sharp in a macro photo because depth of field shrinks to a few millimetres at close focusing distances. A hand is angled and a nail is curved, so one nail falls inside the focus zone and its neighbours do not. Backing off and cropping is the only reliable fix.
Does macro mode reduce photo quality?
Macro mode reduces quality on most phones because it uses the ultra wide camera, which is typically lower resolution and weaker in dim light than the main camera. In a bright window it is barely noticeable. In a dim salon, a macro nail photo comes back visibly darker and grainier than the same shot on the main lens.
What is the best distance for nail photos without macro?
The best distance for nail photos is around 30cm using the 2x lens, then cropping in afterwards. That combination keeps the hand in proportion, holds all five nails within the focus zone, and still leaves far more resolution than Instagram displays. Anything closer than 12cm risks the phone switching to macro on its own.
Final Takeaways
- Macro is a lens switch, not a sharpness setting, and the lens it switches to is the weakest one you own.
- One nail only. Two or more fingers and the ultra wide distortion becomes obvious.
- Turn off Auto Macro so the phone stops hijacking your full-set shots.
- Shoot at 30cm on 2x and crop. You have more resolution than you need and no distortion to undo.
- Move the light before you move in, or your own phone shadows the nail.
- Expect a shallow focus plane and take five frames rather than trusting one.

Hannah
Hannah is a co-founder of NailTech, the nail image editor that turns quick phone shots into portfolio photos. She worked in the beauty industry before moving into mobile design, and now owns product and design on the app.



