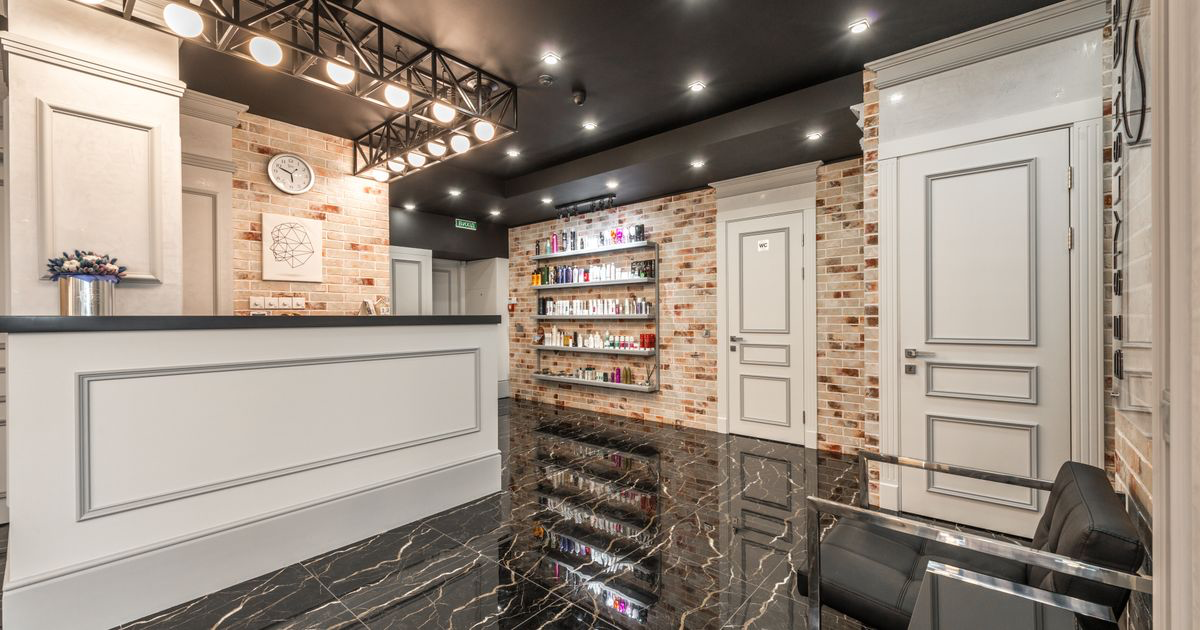
How to Post Your Nail Workspace on Instagram
Quick answer: Post your nail workspace to answer the questions clients are too polite to ask: is it clean, is it private, and will I feel comfortable here. Show the desk before a client arrives, the sanitation routine, the chair from the client's eye level, and the entrance. Never show an address, a doorplate or another client's face.
Somebody has been through your last twenty posts, saved three sets, and still not booked. What they are stuck on is not your work.
They are trying to picture walking into a stranger's spare room, or a salon they have never been inside, and no amount of chrome French tips answers that.
Why do workspace posts get bookings?
Because they resolve the objection your nail photos cannot touch.
A set photo proves you can do nails. It says nothing about whether the room smells of acetone with no ventilation, whether your files get sanitised between clients, whether there is somewhere to park, or whether a first-time client will be sitting in a family living room with a television on.
For home studios and mobile techs this gap is the entire booking problem. A new client is deciding whether to give a stranger their address or go to one, and every unanswered question sits on the wrong side of that decision. Salon-based techs have less to prove, but they still get asked which door to use and whether the chair by the window is theirs.
Workspace content also does something set photos cannot: it makes you a person. Two techs with equally good portfolios are separated by whichever one feels more like somebody the client would enjoy spending ninety minutes with.
What should you actually show?
Five things, roughly in order of how much they matter to a nervous first-timer.
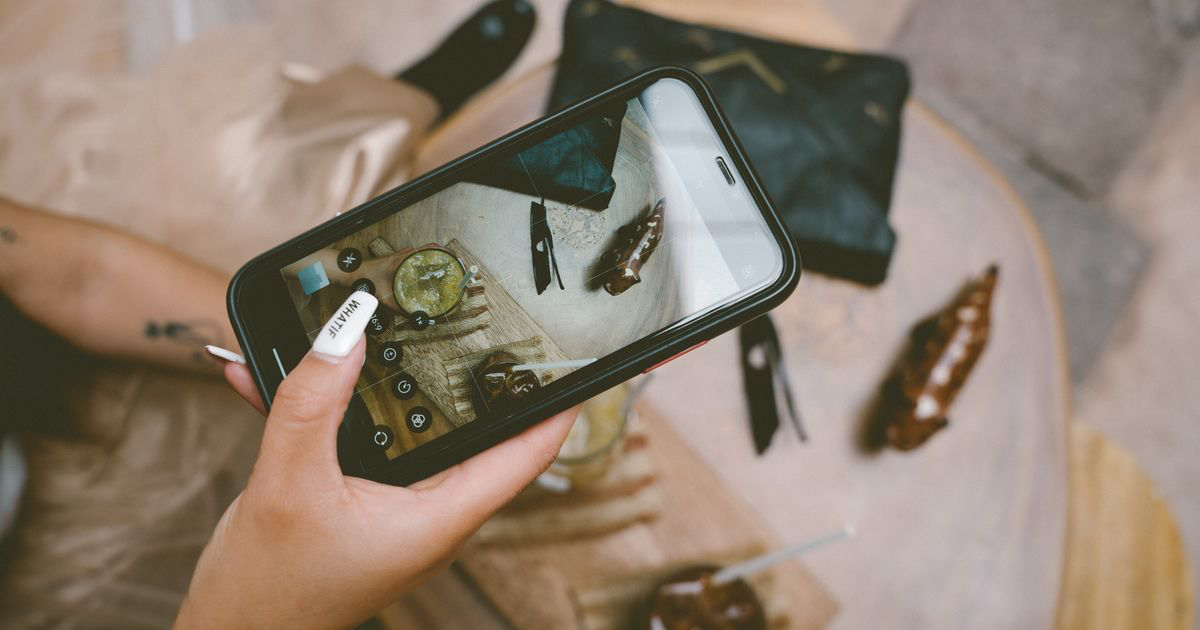
The desk before a client arrives. Clean, laid out, lamp on, tools in place. This is the single most useful workspace photo you will ever take, and it takes ten seconds at the start of a shift.
Next is the sanitation routine. Files going into a pouch, implements coming out of a sealed sterilisation bag, the dust collector running, gloves going on. Show the step rather than describing it, and do not narrate it defensively. A short clip of an implement pouch being opened does more than a caption about your standards.
Then the client's own view. Sit in their chair and shoot what they will see: the desk, the lamp, the window, whatever is on the wall opposite. Almost nobody photographs this angle, and it is the one that lets a stranger picture themselves in the room.
The entrance matters too, minus the address. The front of the building, the door, the corridor, the lift. Enough to recognise the place on arrival, cropped so no number, street sign or nameplate is readable. Send the full address privately once the booking is confirmed.
Last, one human detail: the playlist on the speaker, the dog that sleeps under the desk, the drinks you offer. That is the part that turns a scroller into someone who wants to come and sit down.
What should you never post?
Anything that identifies a client or your exact location.
Client faces need permission every time, even in the background of a wide shot. Client paperwork, phone screens showing your booking system, and anything with a name on it should be out of frame or blurred before posting. Consultation forms sitting on the desk are the usual accident.
Your house number, street sign or the outside of a residential door is the other one. A home studio address broadcast publicly is a safety issue rather than a marketing decision, and cropping costs nothing.
How do you make a small or shared space look good?
By shooting a corner, not the room.
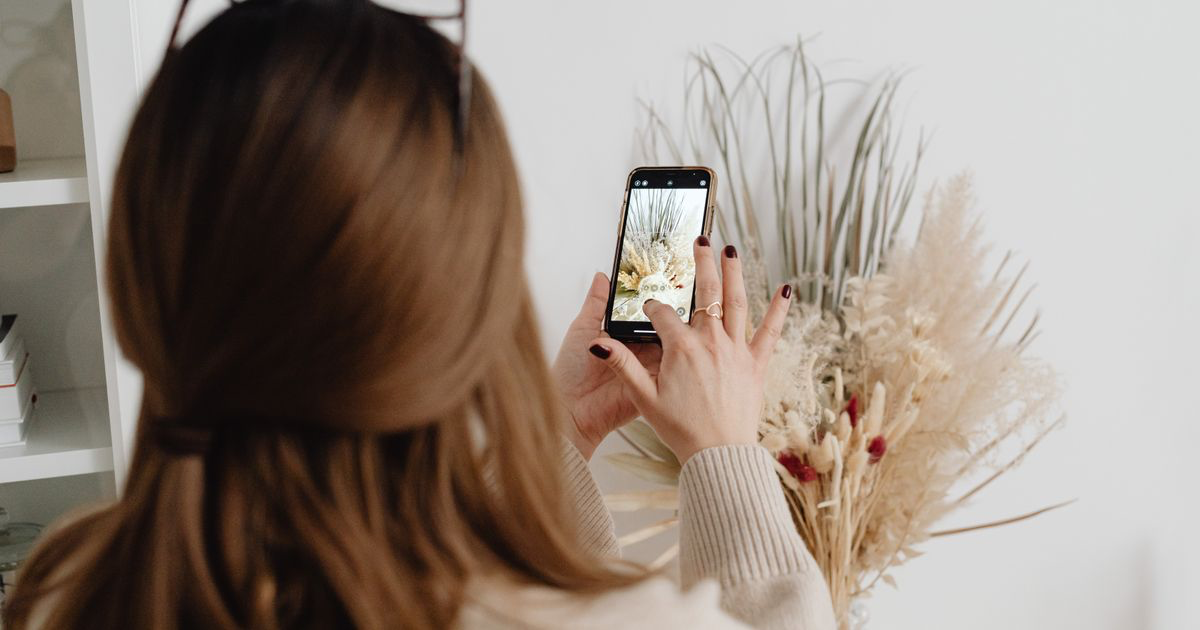
Most nail workspaces are one desk in a larger space, sometimes shared, often with somebody else's clutter a metre away. A wide shot of the room shows all of it. A tighter shot of your desk from slightly above, with the lamp and a plant in frame, shows a workspace.
Three habits do most of the work. Clear one square metre completely rather than tidying everything a bit, since one genuinely clean area photographs better than a whole room at 70 percent. Shoot with the window in front of the desk rather than behind it, so the desk is lit rather than silhouetted. And keep the phone at chest height, because floor-level and overhead angles both make small rooms look stranger than they are.
Workspace shots also carry the room's colour more visibly than a nail photo does, because there is so much more wall and floor in frame. A ceiling bulb that turns a set slightly warm turns a whole room orange, and editing nail photos covers taking that back out so the space looks like it does in person.
If the background behind your desk is genuinely difficult, the same fixes that work for nail shots work here, and best background for nail photos covers what a plain surface buys you.
| Post type | Question it answers | Effort | Best home |
|---|---|---|---|
| Clean desk, before the first client | Is it hygienic | 10 seconds | Grid and highlights |
| Sanitation step, short clip | Are the tools safe | 30 seconds | Stories and Reels |
| Client's-eye view of the chair | What will it feel like | A minute | Grid |
| Entrance and arrival directions | Where do I actually go | A minute | Highlights, permanently |
| Human detail, playlist or pet | Do I want to spend 90 minutes here | Seconds | Stories |
The right-hand column matters as much as the rest. Arrival information belongs in a permanent highlight rather than a post that vanishes down the grid, which is part of the structure in Instagram highlights for nail techs.
How often should you post workspace content?
Roughly one in six or seven posts, plus a permanent highlight.
Workspace content converts, but it does not attract. Nail art is what gets saved, shared and shown to a friend; the studio shot is what closes the person who is already looking. Post too much of it and you starve the top of your funnel, which is a real risk for newer techs, where reach is the scarcer resource. Techs still building their first client base will get more from the tactics in how to get clients as a new nail tech.
The exception is a change. A new suite, a repaint, a new chair, a move: post those properly, because a client who has been before needs to know the room they are walking into is different.
A ten-minute workspace shoot
- Clear one square metre completely and leave the rest of the room alone.
- Turn the overheads off and shoot with daylight from the front, so the desk is lit rather than backlit.
- Take the client's-eye shot first, sitting in their chair at their height, before the desk gets used.
- Film one 15-second sanitation clip of implements coming out of a sealed pouch.
- Shoot the entrance last, framed so no number or street sign is readable, and save it straight into a highlight.
Where NailTech fits in
Workspace photos are the hardest thing on your feed to keep consistent, because they are the only shots that include the room. A nail close-up can hide a bad ceiling light behind a tight crop; a photo of your desk contains the bulb, the wall colour, the window and every cast they produce together. Post one warm-lit desk shot between two daylight set photos and the grid visibly breaks.
They also get shot on the fly, at whatever moment the room happened to be clean, which is rarely the moment the light is good.
NailTech is a nail image editor, and the colour work it does on a set applies just as well to the desk that set was made on.
- Match a room shot to your nail photos so a workspace post does not break the grid.
- Neutralise mixed lighting where a warm bulb and a cool window meet on the same desk.
- Even out skin tone in shots where your own hands are in frame working.
- Crop consistently so every workspace post sits at the same framing.
NailTech is a phone editor for nail photos rather than a scheduler, so posting cadence and highlight structure stay with you. The colour drift between a lamp-lit desk and a daylight set is the part it takes off your hands.
Clearing one square metre completely photographs better than tidying a whole room to 70 percent, because the camera only ever sees the corner you point it at.
Make your nail photos look salon-ready
Download NailTech and clean up the lighting, skin tone and background on every set you post, in a few taps.
Download on App StoreFrequently Asked Questions
Should nail techs post their workspace on Instagram?
Nail techs should post their workspace regularly, because it answers the questions a set photo cannot: whether the space is clean, private and comfortable. It matters most for home studios and mobile techs, where a first-time client is deciding whether to visit a stranger's address.
What should you not show in a nail salon workspace photo?
Never show a house number, street sign, doorplate or anything identifying a home studio's exact address in a workspace photo. Client faces need permission every time, and consultation forms, booking screens and paperwork with names on them should be moved out of frame before shooting.
How do you make a small nail studio look professional in photos?
Make a small nail studio look professional by clearing one square metre completely rather than tidying the whole room, shooting the desk from chest height with daylight coming from in front, and framing tight on the workspace instead of showing the full room.
How often should nail techs post workspace content?
Roughly one workspace post in every six or seven works well, alongside a permanent highlight holding arrival directions and sanitation information. Workspace content converts people who are already interested but does not attract new viewers the way nail art does, so it should not dominate a feed.
What is the best photo to post of a nail desk?
The most useful nail desk photo is the clean setup taken before the first client arrives, with the lamp on and the tools laid out. It takes about ten seconds, answers the hygiene question directly, and works in the grid, in Stories and in a permanent highlight.
Final Takeaways
- Post the room to close bookings, not to win reach.
- Shoot the client's-eye view, the angle almost nobody publishes.
- Show the sanitation step rather than writing a caption about standards.
- Crop out every number and street sign before an entrance photo goes up.
- Clear one square metre, not the whole room.
- Keep arrival details in a highlight, where they stay findable.

Hannah
Hannah is a co-founder of NailTech, the nail image editor that turns quick phone shots into portfolio photos. She worked in the beauty industry before moving into mobile design, and now owns product and design on the app.