
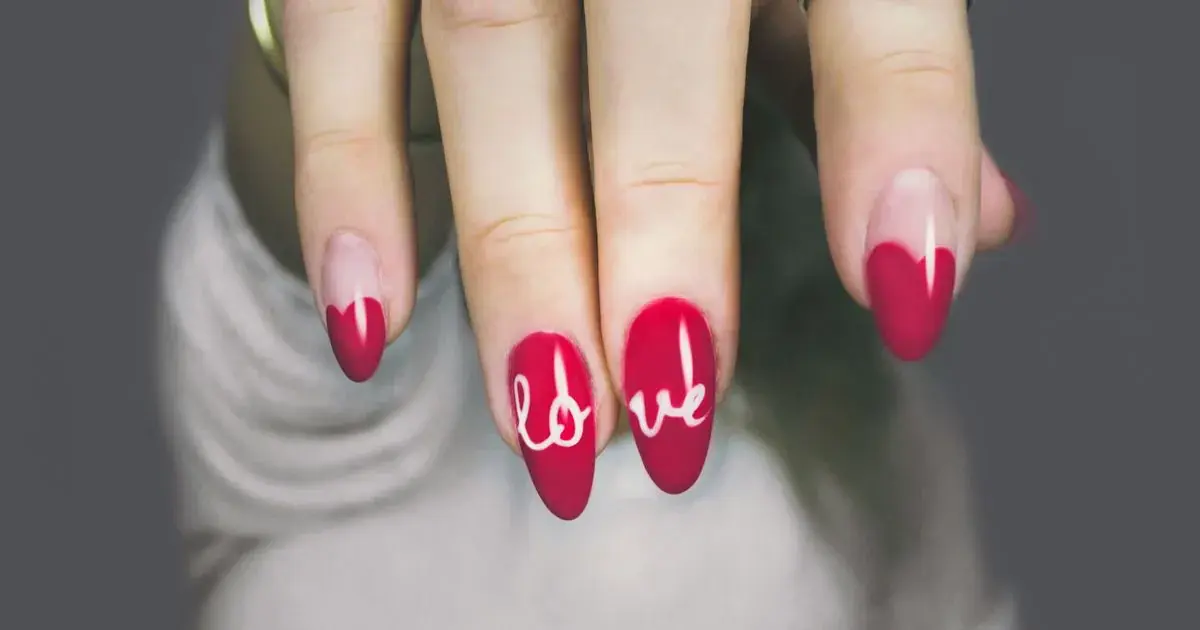
How to Edit Red Nail Photos
Quick answer: Edit red nail photos by correcting white balance first, then pulling exposure and highlights down rather than pushing saturation up. An orange red is usually a warm salon bulb, a neon red is over-saturation, and a flat red with no shading is a clipped file that no editing can recover.
The client asked for a proper cherry red, you mixed it perfectly, and the set matched the bottle when they left. Then you open the camera roll between appointments and the red on the screen is a colour you never painted.
Red is the most requested classic shade in the book and the single worst behaved colour on a phone camera. Most of what goes wrong with a red photo is still fixable after the fact, in about two minutes, if you touch the sliders in the right order.
Why is red the hardest colour to edit?
A phone records three colour channels: red, green and blue. A saturated red gel fills the red channel long before the rest of the frame looks bright, so the sensor runs out of room on the exact nails you are trying to show off.
Once that channel is full, two things happen to the file. The subtle shift from the apex down to the sidewalls disappears, because those darker tones were never recorded. And the colour the phone rebuilds from the leftover green and blue data drifts warm, which is why a blue-toned cherry so often comes back looking orange.
Editing cannot put back what the sensor never captured. What it can do, reliably, is undo the warm cast, calm the saturation the camera added on its own, and pull the shade back towards the polish bottle. That covers most red photos on most camera rolls.
Which red problem does your photo actually have?
Diagnose before you drag anything. Red photos fail in three distinct ways, and each one has a different fix.
The orange red. The whole frame looks warm: the skin is golden, the white desk is cream, and the cherry red reads as coral. This is a white balance problem caused by the salon bulb, not a red problem at all, and it is the easiest of the three to fix.
The neon red. The nails glow like a warning sign, with no visible shading anywhere on the nail, but the rest of the photo looks normal. This is saturation. Sometimes you added it, more often the phone's auto processing did.
The flat red. The nails are one solid block of colour with no highlight anywhere, and the edges look almost painted on. This is clipping, it happened at the moment you pressed the shutter, and the honest answer is a reshoot. The prevention side lives in how to photograph red nails: under-expose by about half a stop and the channel never fills.
What order should the edit go in?
The same order every time, because each step changes what the next one needs.
White balance first, always
Drag the warmth or temperature slider cooler until the skin looks like skin and anything white in the frame looks white, then stop. Do not judge it by the nails. Red is the last place your eye can detect a cast, so balance against the client's knuckles or the desk instead.
On a lot of red photos this single move finishes the job. The coral shifts back to cherry, the skin loses its orange tint, and the saturation slider never needs to move at all. It is the same first step as every other shade, and the reason white balance opens the running order in a full nail photo editing routine.
Exposure and highlights down, not up
If the red still looks washed out or pale after the white balance fix, resist the instinct to brighten. Pull exposure down slightly, then pull highlights down further. Darkening a red photo puts colour density back into the nail and often reveals shading you thought was gone.
A red photo that was shot too dark is a far better starting point, and the shadows-first recovery in how to brighten dark nail photos applies to red with one caution: lift shadows, but leave the highlights where they are.
Saturation down or not at all
This is the counterintuitive one. On a red set, the saturation slider almost only ever moves left. The camera's own processing already pushed the red channel hard, so adding more pushes the shade towards neon and tints the client's skin pink at the same time. If the red looks weak, the fix was white balance or exposure, not saturation.
Hue, if your app has it
A slider that shifts red towards magenta or towards orange is the precision tool for reds. Two or three points towards magenta rescues a cherry that is still reading warm after the white balance fix. It is a small move: past five points the shade stops being the one the client is wearing.
How do you keep the skin natural while fixing the red?
Red polish tints its surroundings. Light bounces off five glossy red nails onto the fingers around them, so the skin in a red photo often carries a pink or blotchy cast that was never there in the chair.
If your editor can select colours individually, drop the saturation of the reds in the skin without touching overall warmth. If it cannot, make the global correction gentler and accept a compromise: a slightly warm frame with natural hands beats a perfect red with grey fingers. Clients look at their own skin in these photos more than you would think.
Watch the cuticle line while you work. It is the first place an over-corrected red starts to look cut out.
Where should you edit a red set?
| Option | Time per photo | Skill needed | Red accuracy | Cost |
|---|---|---|---|---|
| Straight off the phone camera | None | None | Poor, warm and over-saturated | Free |
| Instagram or TikTok filters | Seconds | None | Worst, filters push red further | Free |
| Snapseed or Lightroom Mobile | 5 to 10 minutes | Medium, needs selective tools | Very good once learned | Free to subscription |
| NailTech | About a minute | Low | Good, tuned for gel shades | App purchase |
The general apps can all do this job. The difference is how many decisions they leave to you: a manual editor asks you to know that red wants cooler balance, lower highlights and less saturation, and to repeat that across eight photos of the same set.
A two-minute edit for a red set
- Cool the white balance until the skin and the background look right. Ignore the nails while you do it.
- Pull highlights down and nudge exposure down if the red looks pale or washed out.
- Move saturation left, never right. If the red seems weak, return to steps one and two.
- Shift hue slightly towards magenta if the shade still reads warmer than the bottle.
- Check the skin last. Calm any pink bounce on the fingers, then compare against the polish bottle or a swatch before you post.
Where NailTech fits in
Scroll a month of red sets in your gallery and each one has drifted somewhere different: the Tuesday cherry went coral under the desk lamp, the Friday oxblood went black by the window, and the two photos of the same set do not even match each other. Correcting that by hand means remembering, every time, that red wants the opposite of what the sliders suggest.
NailTech is a nail image editor, built around the corrections nail photos actually need rather than general-purpose filters.
- Removes the warm cast that turns cherry red into coral.
- Holds the gel colour true instead of letting the correction bleach it.
- Keeps skin natural while the red is being fixed, so fingers do not go grey.
- Cleans up the background when the towel or desk edge crept into frame.
- Repeats the same edit across the set, so both hands and all eight angles match.
NailTech corrects casts and saturation; it cannot rebuild shading in a red that clipped at the shutter. That one is prevented at the desk, not fixed on the sofa.
An orange red is a white balance problem, a neon red is a saturation problem, and a flat red with no shading at all is a clipped file that no slider in any app can bring back.
Make your nail photos look salon-ready
Open NailTech and clean up the lighting, skin tone and background on every set you post, in a few taps.
Open NailTechFrequently Asked Questions
Why do my red nails look orange in photos?
Red nails look orange in photos for two stacked reasons: warm salon bulbs add yellow light to the shade, and phone sensors clip saturated reds, rebuilding the colour from green and blue data that drifts warm. Cooling the white balance in an edit fixes the first cause; only a darker exposure at the shoot prevents the second.
How do you fix over-saturated red nails in a photo?
Fix over-saturated red nails by lowering saturation, never raising it, after correcting white balance first. Pull highlights down to restore colour density, and if the editor offers a hue control, shift the reds slightly towards magenta. If the nail shows no shading at all, the red channel clipped and the photo needs reshooting.
Can you fix a red nail photo that is completely blown out?
No. A blown-out red means the camera's red channel was full when the photo was taken, so no detail exists in the file to recover. Editing apps can shift the colour of a blown red but cannot rebuild its shading. Under-exposing by about half a stop at the shoot prevents it entirely.
Should you increase saturation when editing red nail photos?
Almost never. Phone cameras already push saturated reds hard in their automatic processing, so adding more saturation turns the polish neon and tints the surrounding skin pink. A red that looks weak in a photo usually needs cooler white balance or lower highlights, both of which restore depth without exaggerating the colour.
What is the best app for editing red nail photos?
Snapseed and Lightroom Mobile both handle red well if you know to cool the white balance, drop highlights and reduce saturation, and Lightroom's colour mix gives the finest hue control. NailTech is a nail image editor that applies those same corrections in a couple of taps, tuned for gel shades and skin tones.
Final Takeaways
- Diagnose before you drag. Orange means white balance, neon means saturation, flat means clipped.
- Cool the cast first and judge it by the skin, never by the nails.
- Darken to deepen. Exposure and highlights down puts density back into a pale red.
- Saturation only ever moves left on a red set.
- Protect the skin from the pink bounce red polish throws onto fingers.
- Reshoot a clipped red. Two seconds of exposure slider at the desk beats any edit.

Hannah
Hannah is a co-founder of NailTech, the nail image editor that turns quick phone shots into portfolio photos. She worked in the beauty industry before moving into mobile design, and now owns product and design on the app.



