
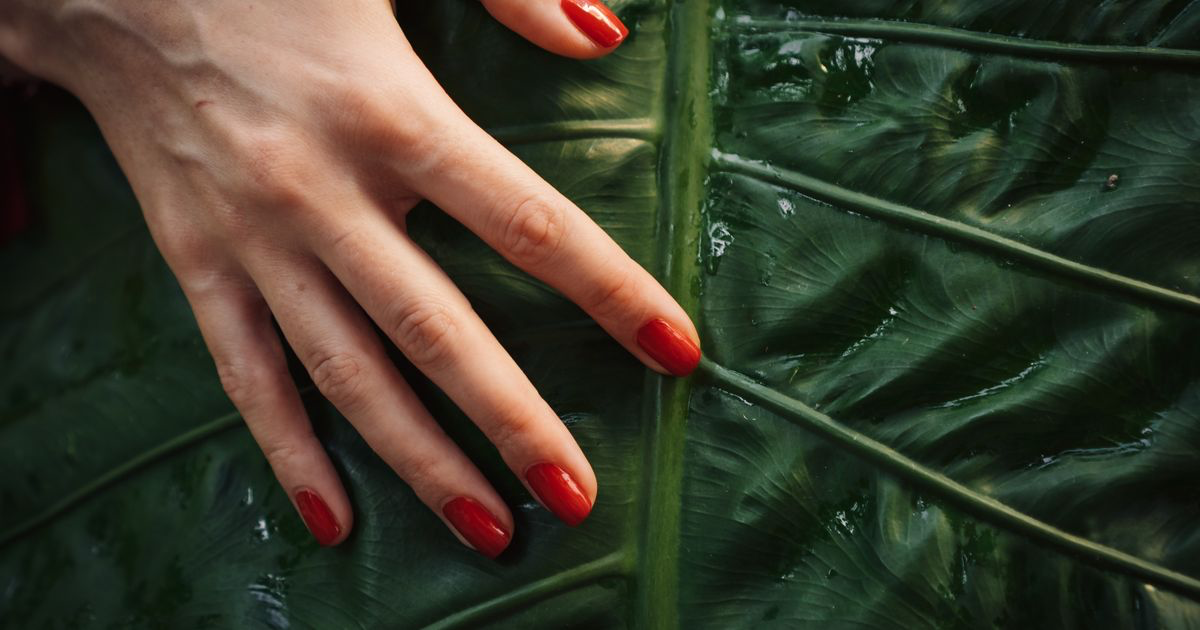
How to Photograph Red Nails
Quick answer: Photograph red nails slightly under-exposed, with the white balance pulled cooler than the salon lamp wants, and with light arriving from the side rather than head on. Red is the first colour a phone sensor runs out of room in, so a red set that looks correct on screen is usually already clipped and reading as orange.
A classic red is the one shade every client can picture before they sit down. They ask for it by name, you mix the perfect blue-toned cherry, and the set looks expensive on the desk.
Then the photo lands somewhere between tomato and traffic cone.
Why do red nails look orange in photos?
Two things happen at once, and they push in the same direction.
The first is the bulb. Most salon lighting sits somewhere warm, and warm light adds yellow to everything it falls on. Yellow plus red is orange. Your eyes discount the bulb automatically, your phone records it literally, which is the same mechanism behind nail photos coming back yellow on nude and milky shades.
The second is the sensor. A phone records three channels, red, green and blue, and a saturated red nail fills the red channel long before the frame as a whole looks bright. Once that channel maxes out, the only information left comes from green and blue, and the phone reconstructs a colour from what remains. What comes back is flatter, more orange, and missing the darker areas near the sidewalls entirely.
That second problem is not recoverable. There is no detail hiding under a clipped red, because nothing was recorded there.
How do you stop red clipping in the first place?
Shoot it darker than feels right.
Tap the middle nail to lock focus and exposure, then drag the slider down. A third to two thirds of a stop is usually enough. The photo will look slightly moody on the screen, and the red will keep its edges and the shift in tone from the apex down to the sidewall.
Watch the brightest nail, not the average. If one nail is catching the lamp and the rest sit in shade, meter for the bright one. Everything else lifts easily in an edit; the blown one does not.
If your phone has a live highlight warning in its pro mode, turn it on. It sits alongside manual white balance on most handsets, covered in Android camera settings for nail photos.
What lighting suits a red set?
Soft light from one side, and only one source.
Red shows its quality through the transition between the lit part of the nail and the shaded part. A crimson with blue in it goes deep burgundy in shadow. A warmer red goes rust. That gradient is what tells someone looking at the photo which red they are actually being offered, and front-on light erases it by lighting the whole nail evenly.
Sit the hand so a window or a soft lamp comes across it at roughly 45 to 90 degrees, then shoot from the darker side. There is a fuller comparison in ring light versus window light, but the short version for red is that a ring light both flattens the gradient and stamps a bright circle into the gloss.
Watch what the light bounces off on the way in
Red is unusually good at colouring its surroundings. A red jumper on you, a red towel under the hand, a red salon wall two feet away: each one throws red light back onto the fingers and gives the client pink, blotchy-looking skin in the final shot. Your own sleeve is the one people forget, because it is behind the phone rather than in the frame.
Anything neutral is safe. Grey and off-white both work, and so does a pale wooden desk.
Does the background matter more for red than other colours?
Yes, because red argues with more colours than most shades do.
Warm backgrounds are where it goes wrong. Beige and cream both sit close enough to red on the colour wheel that the nails stop separating from the frame, and the whole photo reads as one warm smear.
Mid grey is the safest choice and the one that makes correcting the shot easiest afterwards, since a known neutral gives you something to balance against. Charcoal and near-black both work well and make a bright red look richer. White is workable but the meter tends to darken the frame to compensate, which then hides the red rather than protecting it.
Green backgrounds technically make red pop hardest, and they also make the photo look like a Christmas card. Skip it unless that is the post.
How do you photograph different reds differently?
A bright classic red is the one that clips fastest, so it wants the biggest exposure drop and the coolest white balance.
Deep burgundy and oxblood behave in reverse. They collapse into five black ovals under soft light, and the whole point of the shade is that it turns red when the hand moves, so give it a stronger directional light and a pale card on the shadow side to keep colour in the darkest nail.
Sheer and jelly reds want light coming through the gel rather than off it, which is a different job and is covered in how to photograph jelly nails. Red chrome behaves like a mirror, so control what sits in front of the hand rather than what is lighting it.
How do the editing options compare?
| Option | Time per photo | Skill needed | Red accuracy | Consistency across your feed | Cost |
|---|---|---|---|---|---|
| Straight out of the phone camera | None | None | Poor, saturated and warm | Varies with every bulb | Free |
| Instagram or TikTok filters | Seconds | None | Worst, filters push saturation further | Low | Free |
| Lightroom or Photoshop on a desktop | 5 to 15 minutes | High | Excellent with HSL control | High once you save a preset | Subscription |
| NailTech on your phone | About a minute | Low | Good, tuned for gel shades | High | App purchase |
Every one of these depends on the file. A red that was correctly exposed at the desk can be corrected in any of them; a clipped one cannot be corrected in any of them. Knowing which faults survive the shoot and which do not is the useful half of editing nail photos, because it tells you when to reshoot instead of wasting five minutes on sliders.
A two-minute setup for a red set
- Turn the salon lamp off and move the hand to the window, or to one soft lamp at the side.
- Clear anything red or warm from under and behind the hand, including your own sleeve.
- Put a mid grey or charcoal surface down so the nails separate from the frame.
- Tap the brightest nail to lock exposure, then pull the slider down about half a step.
- Shoot four or five frames at fingertip height on the 2x lens, rolling the wrist slightly between each.
Where NailTech fits in
Red is the shade where an edit either rescues the photo or cannot touch it, and the difference is decided before you press the shutter. Once the file holds its detail, though, the correction is small and repeatable: take the yellow out of the light, pull the saturation back a little, and stop the red from tinting the skin around the cuticle. Doing that by hand in a general photo app is slow, because moving saturation moves the client's fingers too.
NailTech is a nail image editor, so the sliders are pointed at nails and hands rather than at holiday photos.
- Neutralise the warm cast salon bulbs push into every red.
- Hold gel colour true instead of letting it drift towards orange.
- Even out skin where red light has bounced onto the fingers.
- Tidy the background when the desk edge crept into frame.
- Match a whole set of photos so your grid does not swing between cherry and rust.
NailTech will not invent detail in a nail that came back solid orange. That part is the exposure slider at the desk, and it takes two seconds.
A red that clipped at the desk has no darker areas left to recover, which is why an under-exposed red photo is always more useful than a bright one.
Make your nail photos look salon-ready
Download NailTech and clean up the lighting, skin tone and background on every set you post, in a few taps.
Download on App StoreFrequently Asked Questions
How do you photograph red nails so the colour is accurate?
Photograph red nails under soft side light with the salon lamp switched off, lock exposure on the brightest nail and reduce it by roughly half a stop, and keep the white balance cooler than the room. Red fills a phone's red channel before the photo looks bright, so a deliberately darker frame preserves the true shade.
Why do my red nails look orange in photos?
Red nails look orange in photos because warm salon bulbs add yellow to the shade and phone sensors clip saturated red once the red channel is full. The camera then rebuilds the colour from the remaining green and blue data, which flattens the nail and shifts it towards orange. Under-exposing prevents most of it.
What background is best for red nails?
Mid grey and charcoal are the best backgrounds for red nails, because they are neutral and let the nails separate from the frame without tinting them. Avoid beige, cream and wooden surfaces, which sit close to red on the colour wheel and make the whole photo read as one warm block.
Should you use a ring light for red nails?
A ring light is a weak choice for red nails. It lights the nail evenly from the front, which removes the shadow gradient that tells a viewer whether a red is blue-toned or warm, and it reflects a bright ring into glossy top coat. A window or a single soft lamp placed to one side works better.
How do you photograph dark burgundy nails?
Photograph dark burgundy nails with slightly more light than a bright red, not less, since deep shades collapse into black under soft light. Use one directional light to create a highlight along the apex, add a pale card on the shadow side to bounce light back, and expose so the darkest nail still shows colour.
Final Takeaways
- Under-expose red on purpose. A clipped red cannot be fixed later.
- Light it from one side so the shade shows its depth instead of one flat tone.
- Keep everything red out of the room, including your sleeve and the desk mat.
- Go neutral grey on the background, never beige or wood.
- Treat burgundy as the opposite problem, and give it more light rather than less.
- Correct white balance before saturation, because most orange reds are really a yellow bulb.

Hannah
Hannah is a co-founder of NailTech, the nail image editor that turns quick phone shots into portfolio photos. She worked in the beauty industry before moving into mobile design, and now owns product and design on the app.



