
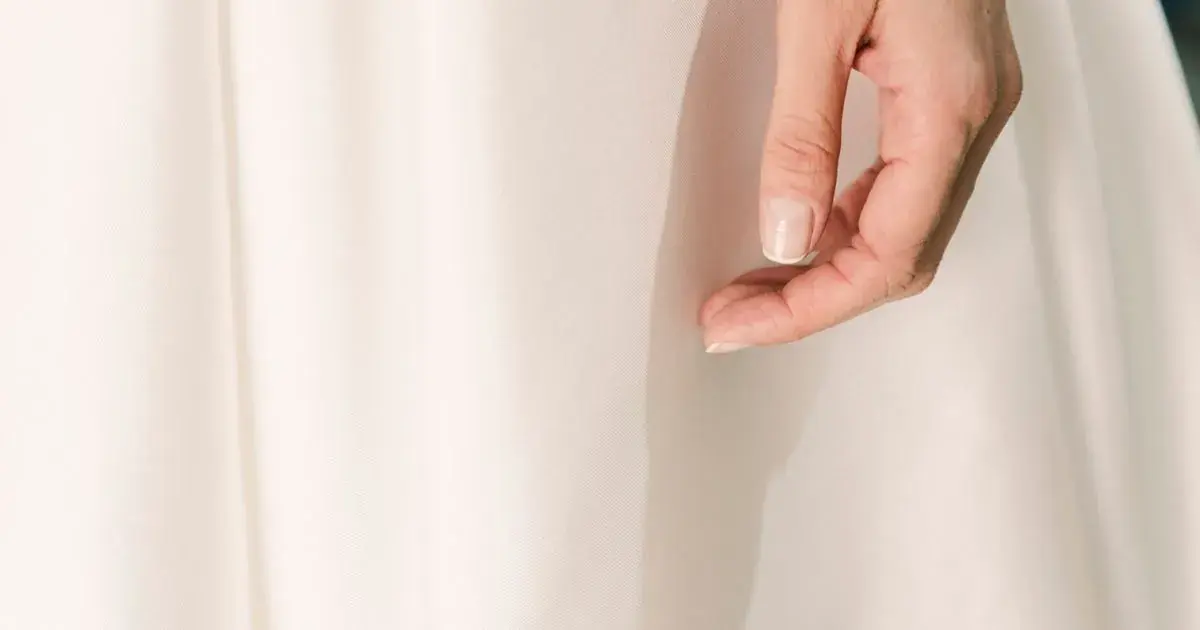
How to Edit Milky Nail Photos
Quick answer: Milky nails hold almost no colour of their own, so they take on whatever cast is in the room and the whole edit is a white balance job. Bring highlights down before anything else, because the gradient from sheer at the cuticle to opaque at the tip is the only thing separating a milky nail from a plain white one.
A milky set is the hardest easy manicure there is. One sheer coat, then another, until the nail plate reads through as a soft glow rather than a stripe.
Then the photo hands you back either cream or grey, and never the thing on the desk.
Why do milky nails look yellow or grey in photos?
Because there is almost nothing there for the camera to hold on to.
A saturated red carries enough colour information that a warm salon bulb shifts it without destroying it. A milky nail is close to neutral, which means it has no colour of its own to defend itself with, so it simply adopts whatever the light is doing. Warm bulb, and the set reads cream or beige. Fluorescent strip, and it goes faintly green. Cool daylight through a north-facing window, and it goes grey.
This is why two photos of the same milky set can look like two different services. Nothing about the polish changed; the room did.
It also explains why milky sets are the shade family most damaged by auto enhance. An automatic tool looks for something to correct, finds a low-contrast, low-saturation photo, and pushes contrast and saturation to compensate. On a milky nail that turns a soft translucent finish into flat, chalky paint.
What makes a milky nail look milky rather than white?
The gradient, and protecting it is most of the job.
A milky manicure is translucent. Near the cuticle you can still see the natural nail through the coats, so that area reads slightly pink or slightly deeper. Toward the free edge the coats build and the finish becomes more opaque, so the tip reads brighter and denser. That transition from sheer to solid is what the eye registers as milk rather than as white emulsion.
Blow the highlights and the gradient dies. Once the brightest part of the tip has been recorded as pure white with no detail underneath, there is nothing left to recover, and the nail flattens into a single opaque shape. It looks like a French tip that has been painted over.
So highlights come down before you look at anything else. This is the opposite of the instinct with a pale shade, which is to brighten it.
An opaque white set behaves quite differently, and the two edits pull apart, which is why editing white nail photos is a separate routine rather than the same one.
Which slider fixes a milky set?
White balance, and then almost nothing.
Temperature, judged on the skin
Set the temperature by looking at the client's hand, not at the nail. You have a reliable memory of what a hand looks like and no reliable memory of what a neutral milky nail looks like, so the hand is the better reference. Get the skin right and the nail almost always lands correctly with it.
Tint, which milky sets need more than most
Tint controls the green to magenta axis, and it is the slider that separates a clean milky white from a faintly sickly one. Salon strip lights push green; a small pull toward magenta takes it back out. It shows on the knuckle before it shows on the nail.
Highlights down, exposure left alone
Lowering highlights recovers the tip. Raising exposure to compensate for a dim photo will push those same highlights straight back into clipping, so if the file is genuinely dark, lift shadows instead. The distinction is worked through in brightening dark nail photos.
Saturation and contrast, mostly untouched
Contrast on a milky set exaggerates the difference between the sheer area and the opaque area until it looks like two separate coats. Saturation has nothing to work on, so all it does is make the surrounding skin more orange.
Are milky nails worth photographing well right now?
They are having a moment that is unlikely to end soon. Pantone named PANTONE 11-4201 Cloud Dancer as its Colour of the Year for 2026, a soft white and the first time white has taken the title. Whatever you think of the colour of the year as an exercise, salons feel it, and a soft white category that photographs badly is a category you will keep losing enquiries in.
The practical consequence is that milky, sheer and off-white sets are going to make up more of your feed, and those are exactly the files most sensitive to salon light. Getting the correction repeatable matters more than it did when your grid was mostly reds and blacks.
How do the options compare on a milky set?
| Approach | Stays neutral white | Keeps the sheer to opaque gradient | Time per photo | Cost |
|---|---|---|---|---|
| Straight out of the phone | No, cream under salon bulbs | Usually, if not overexposed | None | Free |
| Auto enhance | Rarely | No, it flattens to chalk | Seconds | Free |
| Instagram or TikTok filters | No, most add warmth | No, contrast presets kill it | Seconds | Free |
| Snapseed or Lightroom Mobile | Yes, with temperature and tint by hand | Yes, with highlights pulled down | 4 to 8 minutes | Free or paid tier |
| NailTech | Yes, corrected against the hand | Yes | About a minute | App purchase |
A four-step edit for a milky set
- Pull highlights down first, before judging anything else, so the tip keeps its detail.
- Set temperature against the client's skin until the hand looks like the hand you were holding.
- Check tint on a knuckle, pulling slightly toward magenta if the file has a fluorescent green edge to it.
- Lift shadows rather than exposure if the photo is still dark, and leave contrast and saturation alone.
Where NailTech fits in
A milky set is the shade with the least colour information in it, which means the file arrives carrying the room rather than the manicure. Cream under a warm bulb, grey under a north window, faintly green under strip lights, all from the same two bottles and the same two coats.
NailTech is a nail image editor, so neutrality is judged against the hand in the frame rather than against the average brightness of everything in the photo.
- Neutralises the salon cast so milky stops arriving as cream.
- Protects the tip from clipping to a flat white with no gradient.
- Handles the green edge that fluorescent strips add on top.
- Keeps skin warm while the nails go neutral.
- Repeats the same correction so a whole milky set matches nail to nail.
NailTech is a phone editor for nail photos, not a shade library. NailTech corrects what the light did to a sheer white, it cannot tell you whether the client asked for milk bath or lip gloss.
The difference between a milky nail and a white one is the gradient from sheer at the cuticle to solid at the tip. Blow the highlights and you have not brightened the photo, you have changed the service.
Make your nail photos look salon-ready
Open NailTech and clean up the lighting, skin tone and background on every set you post, in a few taps.
Open NailTechFrequently Asked Questions
Why do my milky nails look yellow in photos?
Milky nails look yellow in photos because they carry almost no colour of their own, so they adopt whatever cast the room is putting out. Warm salon bulbs and nail lamps add red and yellow across the whole file. Correct the temperature slider against the client's skin rather than against the nail.
How do you edit milky nails so they do not look chalky?
Avoid contrast and saturation on milky nails, and lower the highlights before anything else. Chalkiness comes from clipping the bright tip to pure white and from contrast exaggerating the difference between the sheer cuticle area and the opaque free edge. Correct the white balance and stop there.
What is the difference between editing milky and white nails?
Milky nails are translucent, so the edit protects the gradient from sheer at the cuticle to opaque at the tip. Opaque white nails have no such gradient, so the edit focuses on keeping the surface from clipping and on stopping the white drifting blue. Milky sets are far more sensitive to highlight clipping.
Should I brighten a dark photo of milky nails?
Lift the shadows rather than the exposure on a dark photo of milky nails. Raising exposure pushes the already-bright free edge into clipping, which destroys the translucent gradient permanently. Shadow recovery opens the darker part of the file, which is where the underexposed detail actually sits.
Do filters work on milky nail photos?
Most Instagram and TikTok filters harm milky nail photos, because the popular presets add warmth and contrast. Warmth is the cast you are trying to remove, and contrast flattens the sheer-to-opaque transition that makes a milky finish read as milky. Correct white balance manually instead of applying a preset.
Final Takeaways
- Milky sets adopt the room, which makes the whole edit a white balance job.
- Highlights come down first, because a clipped tip cannot be recovered.
- Judge neutrality on the hand, not on a nail you have no memory of.
- Tint matters wherever fluorescent strips are involved.
- Contrast and saturation do damage and fix nothing here.
- Soft whites are growing, so make the correction repeatable rather than improvised.

Hannah
Hannah is a co-founder of NailTech, the nail image editor that turns quick phone shots into portfolio photos. She worked in the beauty industry before moving into mobile design, and now owns product and design on the app.



