
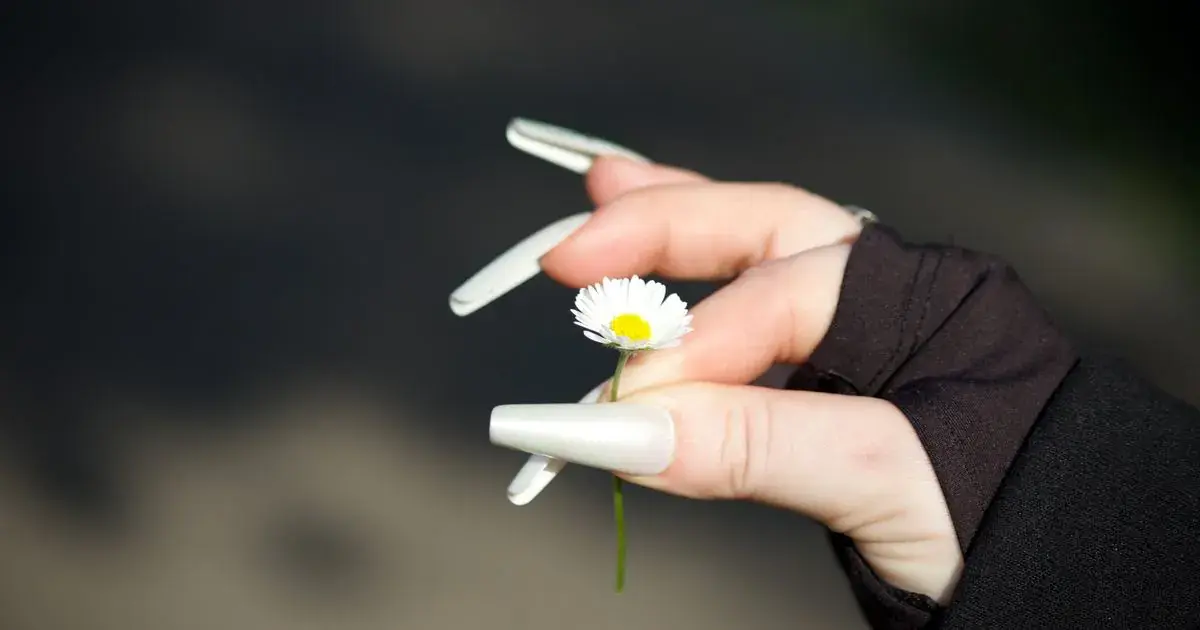
How to Edit White Nail Photos
Quick answer: Edit white nail photos by correcting the colour cast first, then pulling highlights down so the nails hold detail instead of turning into flat white shapes. Judge the temperature against the client's skin rather than the nails, and leave saturation alone, because white shows every shift.
The set looked like fresh snow on the desk. On the phone it is somewhere between cream, beige and hospital lighting, and the smile line you cut so carefully has vanished into a white blob.
White is the least forgiving shade you can photograph, and almost all of the damage is fixable after the fact.
Why do white nails come out cream or grey?
Two separate things are happening, and they need two different fixes.
The first is colour cast. Your phone decides what counts as white by looking at the whole scene, and in a salon the whole scene is lit by a warm bulb over a wooden desk. So the phone splits the difference, lands somewhere warm, and your chalk white photographs as cream. Move to a window and the opposite happens: a cool north-facing light pushes the same set toward blue-grey.
The second is exposure. A white nail is the brightest object in the frame by a distance. The phone's automatic exposure protects the overall image, not your nails specifically, so it lets the brightest parts run right up to the ceiling of what the file can record. Past that ceiling there is no detail left. The nail is not "very bright white", it is nothing, and no slider can invent the smile line back.
Cast is completely recoverable. Clipped highlights are not, which is the single thing worth knowing before you start.
How do you fix the colour cast on white nails?
Correct temperature by looking at the skin, never at the nails.
This feels backwards, and it is the mistake almost everyone makes. Drag the warmth slider while staring at the nail plate and you will stop the moment the nails look white, by which point the client's hand has gone grey and the wooden desk has gone blue.
Skin is the reliable reference. You know what your client's hand looks like because it was in front of you an hour ago, so pull the temperature until the hand looks like the hand. The nails land in the right place on their own.
Then check the tint
Temperature moves blue to yellow. Tint moves green to magenta, and it is the slider people forget.
Salon LED and fluorescent tubes both push green, which on a white nail reads as a slightly sickly, dishwater cast that no amount of temperature correction removes. Nudge tint a little toward magenta and the white cleans up instantly. A small move is enough; too far and the whole photo goes pink.
If the cast is coming from the room rather than the shade, the wider diagnosis is in why nail photos look yellow, and it applies to every set you shoot in that chair.
How do you stop white nails looking like flat blobs?
Bring the highlights down before you touch anything else brightness-related.
The highlight slider only affects the brightest part of the image, which on a white set is the nails themselves. Pulling it down recovers shading across the nail plate: the slight curve at the apex, the shadow under the free edge, the line where the smile line meets the pink. That shading is the only thing that tells a viewer the nails have shape.
Then look at what happened to the rest of the photo. Dropping highlights sometimes leaves the whole image feeling heavy, in which case lift the shadows slightly rather than raising overall brightness, which would just push the nails back toward blowing out.
Leave whites and exposure where they are. Both of those push the top end of the tonal range, which is exactly the end you are trying to protect.
Contrast is the other blob-maker
Raising contrast brightens the bright and darkens the dark. On a white set, that means the nails get brighter and the shading you just recovered flattens straight back out.
If the photo genuinely looks dull, reach for clarity or texture instead. Both add local definition without pushing the nails further up the scale. A small amount brings back the edge of the smile line and the grain of any matte top coat. Too much and the cuticles turn crunchy, which is a specific kind of overedit covered in how much editing is too much.
What about the difference between white shades?
A "white set" is at least four different things, and they want slightly different edits.
Chalk or milk white is opaque and flat, and it clips faster than anything else on your shelf, so this is where highlights come down hardest.
Sheer or milky white, the kind used over a natural nail, is translucent enough that the nail bed shows through pink. Cool it too far and the pink goes purple and the whole thing looks bruised, so correct less than instinct suggests.
Pearl and shimmer whites carry a shift of colour in the reflection, and that shift is the product. Killing the highlights entirely kills the reason the client chose it. Bring them down until you can see the shimmer sitting on the surface, then stop.
French tips are their own case, because the white is small, thin, and sitting right next to skin-toned nail bed, which makes any cast doubly obvious. The full approach for those is in editing French tip nail photos.
How do the options compare?
| Approach | Cast correction | Highlight recovery | Time per photo | Cost |
|---|---|---|---|---|
| Straight out of the phone | Automatic and usually warm | None | None | Free |
| Instagram or TikTok filters | Adds another cast | Often makes clipping worse | Seconds | Free |
| Snapseed or Lightroom Mobile | Full control, temperature and tint | Full highlight and white sliders | 3 to 8 minutes | Free or paid tier |
| NailTech | Corrected against skin tone | Protects the nail plate | About a minute | App purchase |
The middle row is the one to avoid. A filter applied to a white set is a colour cast layered on top of the colour cast you were trying to remove.
A four-step edit for a white set
- Zoom in and check for clipping before anything else. If a nail is pure blank white with no shading at all, that photo cannot be rescued, so pick a different frame.
- Set temperature by the skin, not the nails, until the hand looks natural.
- Nudge tint toward magenta if the white looks slightly green from a strip light.
- Pull highlights down until the apex and the smile line reappear, then lift shadows a touch if the photo feels heavy.
Where NailTech fits in
A white nail sits at the very top of the phone's tonal range, which means it is the first thing to lose detail and the last thing any automatic correction is looking after. Recover it by hand and you are balancing four sliders against each other, then judging whether the client's skin survived, then doing the same thing again on the second hand and the two close-ups before any of it can be posted as one set.
NailTech is a nail image editor, and it makes those judgements about a white set the way you would.
- Neutralises the bulb by reading the hand rather than the nails.
- Protects the nail plate so the smile line and apex stay visible.
- Keeps skin natural instead of dragging it grey alongside the white.
- Clears the background so nothing pale competes with the set.
- Matches every angle of the same manicure.
NailTech is a phone editor for nail photos, not a camera replacement. A nail that has already clipped to blank white has no detail underneath to recover, and no app changes that.
A cream cast on a white set is one slider away from being fixed. A nail that photographed as blank white is finished, because there is nothing recorded underneath the brightness to bring back.
Make your nail photos look salon-ready
Open NailTech and clean up the lighting, skin tone and background on every set you post, in a few taps.
Open NailTechFrequently Asked Questions
Why do my white nail photos look yellow?
White nail photos look yellow because your phone's automatic white balance averages the whole scene, and a salon lit by a warm bulb over a wooden desk pulls that average toward orange. The fix is to cool the temperature slider until the client's skin looks natural, which lands the white nails correctly at the same time.
How do you make white nails look white in photos?
Make white nails look white by correcting temperature against the client's skin tone, nudging tint slightly toward magenta if a strip light has added a green cast, then pulling the highlight slider down so the nail plate holds shading. Avoid raising brightness or contrast, which pushes white nails toward losing detail entirely.
Why do my white nails look grey after editing?
White nails look grey after editing when the temperature slider was pulled too far cool while watching the nails instead of the skin. Overcooling drains warmth from the whole image, so the hand and background go grey too. Judge the correction by the client's hand and stop when it looks natural.
Can you fix an overexposed white nail photo?
An overexposed white nail photo can be improved but not fully recovered. If the nails still show faint shading, the highlight slider will bring detail back. If a nail is completely blank white with no variation, the file recorded no detail there, so no editing app can restore the smile line or apex.
Do white nails need different editing to other colours?
White nails need more highlight control and less saturation work than other shades. White occupies the brightest part of the image, so it clips first and shows every colour cast, but it carries no pigment to protect. Dark and saturated shades need the opposite approach, protecting shadows and colour rather than highlights.
Final Takeaways
- Check for clipping first. A blank white nail cannot be repaired, so choose another frame.
- Correct temperature by the skin, because judging by the nails always overcools the photo.
- Do not forget tint. Strip lights leave a green cast that temperature alone will not clear.
- Highlights down, not brightness up, to bring back the apex and smile line.
- Skip contrast and filters, which flatten white nails straight back into blobs.
- Treat sheer, pearl and chalk whites differently, since each one needs a different amount of correction.

Hannah
Hannah is a co-founder of NailTech, the nail image editor that turns quick phone shots into portfolio photos. She worked in the beauty industry before moving into mobile design, and now owns product and design on the app.



