
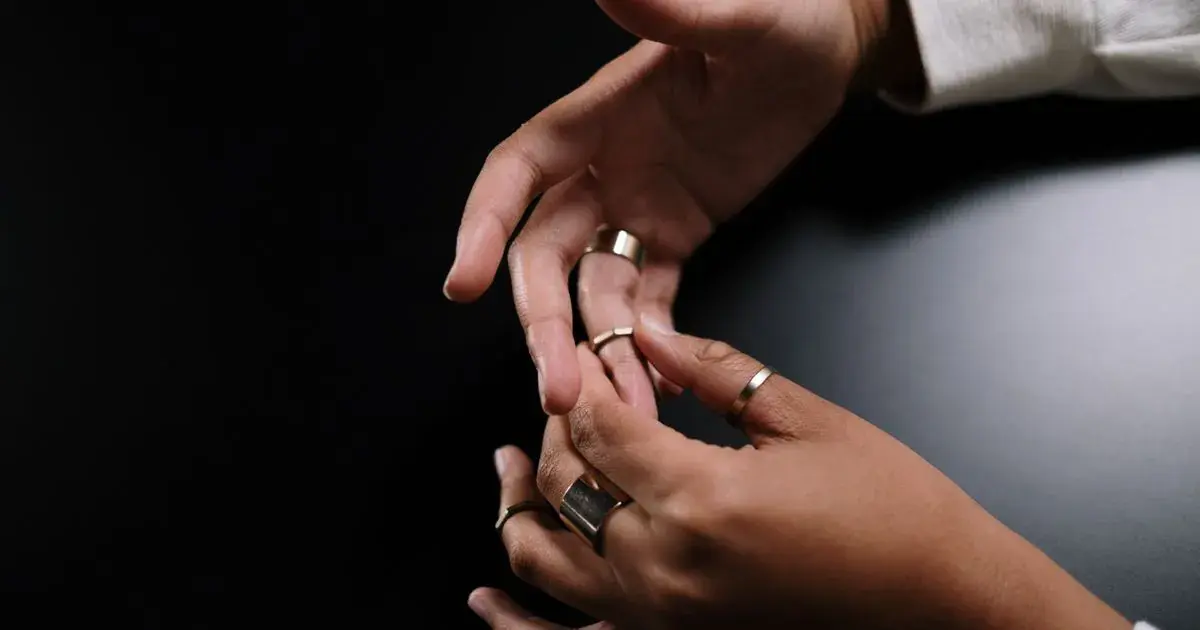
How to Add a Black Background to Nail Photos
Quick answer: Add a black background to nail photos by cutting the hand out and dropping it onto a dark field, then darkening the edge pixels so no bright halo survives around the fingers. Black flatters chrome, glitter and dark shades. It fights pale skin and pale polish, where a white or grey field works better.
Chrome looks incredible on the desk and ordinary in the photo, because the mirror finish has nothing dark to reflect.
Put something black behind it and the reflections finally have somewhere to come from.
Why do nails look better on a black background?
Because a black field gives a glossy surface something to reflect, and because it removes every competing bright object at once.
A top coat behaves like a mirror. Under a white ceiling in a bright salon, what it reflects is white ceiling, which reads as a wash of pale grey across the nail and buries whatever the finish is doing underneath. Against black, that same nail reflects darkness in the flat areas and light only where the curve actually catches it, which is what makes chrome look like chrome.
There is a second, simpler benefit. Black backgrounds have no detail, so nothing behind the hand can pull the eye away. On a feed grid, a run of black-background shots reads as deliberate in a way a run of salon-towel shots does not.
Which finishes suit a black background?
Not all of them, and this is where most techs go wrong.
Chrome, mirror and metallic gain the most. These finishes are defined by what they reflect, and black gives them contrast to reflect. Pair this with the shooting notes in photographing chrome nails.
Glitter, flakes and holographic finishes also benefit, because each particle becomes a bright point against a dark field rather than a bright point against a bright field.
Dark shades are the risky ones. A black or aubergine set on a black background merges into it, and the nail loses its outline. If you want a black background behind a black set, the separation has to come from a rim of light along the free edge, which means it has to be shot that way rather than added afterwards.
Milky, nude and sheer pinks usually look worse. A very pale nail against pure black is a high-contrast collision, and the eye reads the edge as harsh. A mid grey or a soft off-white sits better behind those shades.
How do you add a black background in an editing app?
Three routes, in increasing order of quality.
Shoot it on black
The most reliable version is not an edit at all. A sheet of black card, a black towel, or a matte black phone case behind the hand gives you real black with real shadow, and no cut-out is needed. Under salon light, matte black surfaces record as very dark grey, so you then only need to pull the blacks slider down to finish the job.
This is the version to use if the background is going to be a regular part of your look. A permanent setup is covered in setting up a nail photo corner.
Darken rather than replace
If the existing background is already dim, you often do not need to cut anything out. Pull the shadows and blacks down hard, drop the background exposure with a brush or a gradient, and the clutter disappears into darkness on its own. The hand keeps its real edges, which means no halo and no missing fingertip.
This is the safest edit and it is underused.
Cut out and replace
The full version: separate the hand from the background, then put black behind it. The mechanics are the same as the white version in adding a white background to nail photos, with one extra step that matters far more on black.
Why do cut-outs on black look fake?
Because of the halo, and black shows it far more than white does.
When an app cuts a hand out of a bright photo, the pixels along the outline are a blend of hand and old background. Against a white field those leftover pale pixels are invisible. Against black they form a bright fringe that traces the whole outline, and the hand looks pasted on.
The fix starts with shrinking the mask inward by a pixel or two, so the blended edge gets discarded rather than kept. Darken the outer few pixels of the hand after that, so the transition into black is gradual rather than abrupt. Then add a faint shadow under the fingers, because a hand floating on pure black with nothing touching it never looks like it is resting on anything.
Stray hairs, dust and cuticle oil smears also become visible on black when they were invisible on a busy background. Clean those before you swap the field, not after. There is a routine for it in removing dust from nail photos.
Does a black background change how the skin looks?
Yes, and it is worth planning for.
The eye judges brightness relatively. Put a hand on black and the same skin tone reads lighter and warmer than it did on a mid-grey towel. On deeper skin tones the effect runs the other way: the hand can merge toward the field and lose definition along the outside edge, which is one more reason the contact shadow and a small exposure lift on the hand matter. Photographing nails on different skin tones goes into the exposure side of this.
Check the hand after the swap, not before. A skin tone that looked correct on the original background often needs a small correction once the field around it changes.
How do the options compare?
| Approach | Edge quality | Reflections in chrome | Time per photo | Cost |
|---|---|---|---|---|
| Shoot on black card | Real edges, no halo | Excellent | None, once set up | A few pounds |
| Darken the existing background | Real edges, no halo | Good if the room was dim | Under a minute | Free |
| Instagram or TikTok background tools | Rough, visible fringe | Fine | Seconds | Free |
| Photoshop or a desktop editor | Excellent, full manual control | Excellent | 10 minutes plus | Subscription |
| NailTech | Clean, edge handled for hands | Excellent | About a minute | App purchase |
A four-step black background edit
- Clean the frame first, removing dust, hairs and oil smears while the old background is still there to hide them.
- Try darkening before cutting, because a dim background often only needs blacks and shadows pulled down.
- Shrink the mask inward by a pixel or two if you do cut out, so the blended edge pixels are discarded.
- Add a faint contact shadow under the fingers, then recheck the skin tone against its new surroundings.
Where NailTech fits in
Black is the background that punishes a sloppy cut-out. Every pale pixel left along the outline of the hand turns into a visible fringe, and a stray hair that vanished into a patterned towel becomes a bright line across the frame, so the work is mostly about the edge rather than about the colour.
NailTech is a nail image editor, so the masking is built around fingers and free edges rather than around a general subject outline.
- Handles the halo so pale edge pixels do not survive on a dark field.
- Keeps long tips intact instead of trimming them with the background.
- Removes dust and stray hairs that only become visible once the field goes black.
- Rechecks skin tone after the surroundings change brightness.
- Repeats the same field across a set so a carousel matches.
NailTech is a phone editor for nail photos, not a studio backdrop. NailTech can put black behind a hand, it cannot add the rim light that separates a black set from a black field.
A pale fringe one pixel wide is invisible against a white background and traces the entire outline of the hand against a black one. That single pixel is the difference between a studio shot and an obvious cut-out.
Make your nail photos look salon-ready
Open NailTech and clean up the lighting, skin tone and background on every set you post, in a few taps.
Open NailTechFrequently Asked Questions
How do you put a black background on a nail photo?
Put a black background on a nail photo by removing the existing background with an editing app such as NailTech, Snapseed or a background remover, then filling behind the hand with black. Shrink the mask slightly inward to discard blended edge pixels, and add a faint shadow under the fingers so the hand looks grounded.
Are black backgrounds good for nail photos?
Black backgrounds suit chrome, metallic, glitter and holographic finishes, because a dark field gives the glossy surface contrast to reflect and turns each glitter particle into a bright point. Black works less well behind milky, nude and very pale sets, where the collision looks harsh, and behind black polish, which merges into the field.
Should I shoot on black card or add it in editing?
Shoot on black card if a dark background is going to be a regular part of your look, because real black gives real reflections and needs no cut-out, so there is no halo risk. Add it in editing for one-off photos, or when the set has already been shot and the client has left.
Why does my hand look pasted on against a black background?
A hand looks pasted on when the cut-out kept the blended pixels along its outline, which stay brighter than the new black field and form a visible fringe. It also happens when there is no contact shadow. Shrink the mask inward, darken the outermost few pixels of the hand, and add a soft shadow underneath.
Does a black background make nails look more expensive?
A black background removes every competing bright object from the frame and gives glossy finishes something dark to reflect, which is why chrome and glitter read far stronger on black. The effect is strongest on reflective finishes. On pale or sheer shades, a mid grey or soft off-white field usually looks more considered.
Final Takeaways
- Black earns its place on reflective finishes, and gets in the way on milky and nude ones.
- Darkening the background beats replacing it whenever the room was already dim.
- The halo is the whole job, so shrink the mask and darken the edge pixels.
- Clean the dust before the swap, because black shows every hair.
- Add a contact shadow or the hand will float.
- Recheck the skin once the surroundings change, since brightness is judged relatively.

Hannah
Hannah is a co-founder of NailTech, the nail image editor that turns quick phone shots into portfolio photos. She worked in the beauty industry before moving into mobile design, and now owns product and design on the app.



