How to Lock Focus and Exposure for Nail Photos
Quick answer: Press and hold on the nails until AE/AF LOCK appears at the top of the iPhone camera, or until the padlock appears on most Android camera apps. Focus and brightness then stay fixed while you move the hand, and dragging the sun icon down a notch stops a glossy top coat blowing out to white.
Three photos of the same set, taken thirty seconds apart, and every one is a different brightness. One is dark, one is fine, one has the highlight on the middle nail burned to white.
You did not change anything. The phone did, twice, because it re-decided the exposure each time the hand moved.
What does AE/AF lock actually do?
It stops the camera from changing its mind.
Every time you frame a shot, the phone runs two automatic systems. Autofocus picks a distance to make sharp. Auto exposure picks a brightness by averaging the scene and deciding what should count as mid-grey. Both of them re-run continuously, so a hand rolling half a centimetre can trigger a fresh decision on either.
AE/AF lock freezes both at whatever they were when you locked. Focus stops hunting. Brightness stops drifting. You can then move the hand, change the angle or take five frames in a row, and every file comes out matched.
For nail work this matters more than it does for almost any other subject, because the thing you are photographing is small, shiny and surrounded by skin. A glossy top coat throws a bright reflection at the sensor, the meter sees that spike and pulls the whole exposure down, and the skin goes muddy to protect a highlight nobody was worried about. Lock the exposure on something sensible and the phone stops overreacting.
How do you lock focus and exposure on an iPhone?
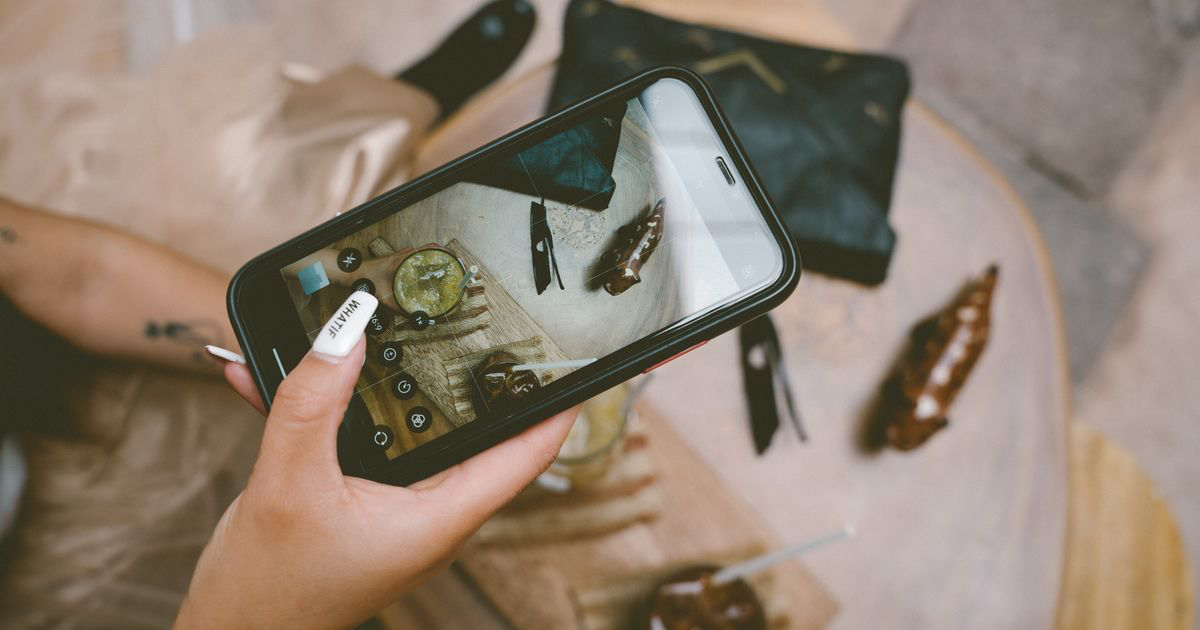
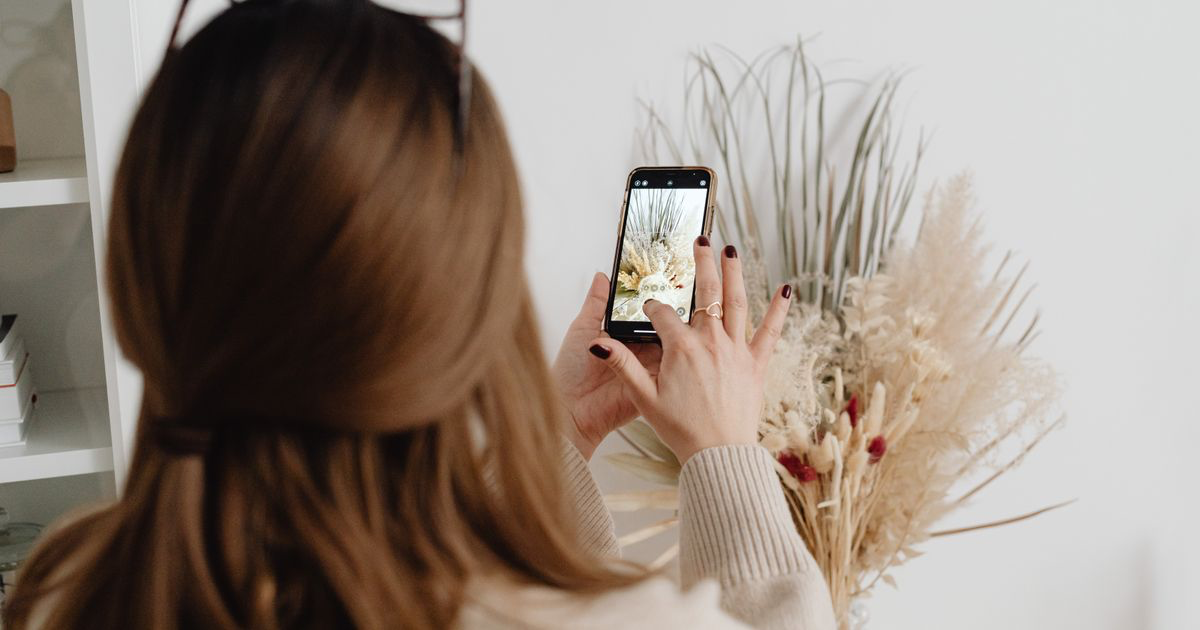
Press and hold on the part of the frame you want locked, for about two seconds, until a yellow box pulses and AE/AF LOCK appears in a banner at the top of the screen.
Put the box on the nails rather than the skin or the background. Tapping the nails means the phone measures the polish, which is the part of the photo you actually care about.
Once locked, a small sun icon sits beside the box. Drag it down to darken, up to brighten. On any glossy set, drag it down one or two notches. That protects the highlight from clipping to pure white, which is unrecoverable later, at the cost of a slightly dark file that lifts back up cleanly in editing. There is more on the rest of the camera app in iPhone camera settings for nail photos.
Tap anywhere on the screen to release the lock. It also releases when you leave the camera app, so lock again after every interruption.
How do you lock focus and exposure on Android?
The gesture is the same as on an iPhone, but manufacturers all call it something slightly different.
On most Android camera apps, including Samsung and Google Pixel, press and hold on the subject until a lock icon or the words AE/AF locked appear. Samsung shows a padlock beside the focus square. Pixel splits the two into separate sliders once you tap, one for brightness and one for shadows, and a small lock button appears above them.
The Pixel split is genuinely useful for nails. The brightness slider sets the overall exposure and the shadow slider lifts the dark side of the hand without touching the highlight on the top coat, which is closer to what you would do in an editor afterwards. Manufacturers move these controls between versions, so if the gesture does nothing, the details are in Android camera settings for nail photos.
Where should you put the lock box?
On the middle nail of the set, angled slightly away from the brightest reflection.
Lock on the brightest nail and the whole image goes dark to protect that one spot. Lock on the skin and the phone brightens everything until the nails clip. The middle nail is close to the average of the scene, and it is also where you want the sharpest focus, so one press does both jobs.
Why does locking exposure make a whole feed look consistent?
Because it removes the variable that makes twenty good photos look like twenty different photographers.
Auto exposure is a per-shot decision. Shoot a black set and the phone brightens the frame, so black gel comes out grey. Shoot a white set thirty seconds later and the phone darkens it, so the white comes out dull. Neither photo is wrong on its own, but side by side in a grid the skin tone visibly jumps between them, which is what makes a feed look homemade.
Locking exposure and setting the same offset every time gives you files that start from the same place. The nails still vary, the skin does not. That is most of what people mean when they talk about a consistent Instagram feed for nail techs.
| Method | Time per photo | Brightness matches shot to shot | Protects glossy highlights | Skill needed |
|---|---|---|---|---|
| Point and shoot, full auto | None | No | No | None |
| Tap to focus each time | A second | Partly | No | None |
| AE/AF lock plus exposure drag | Three seconds | Yes | Yes | Low |
| Manual mode in a third-party camera app | 30 seconds plus | Yes | Yes | High |
Manual mode gives you the most control and almost nobody sticks with it. Setting shutter, ISO and white balance by hand between clients is not a workflow that survives a busy Saturday, whereas a press, a hold and a downward drag becomes muscle memory in about a week.
The lock buys you consistent brightness, not finished colour, and those are separate jobs. Once every set is landing at roughly the same exposure the edit gets shorter and more repeatable, which is where a nail photo editing routine picks up.
A three-second lock routine
- Frame the hand first, so the lock is measuring the composition you are actually going to shoot.
- Press and hold on the middle nail until the lock banner or padlock appears.
- Drag the sun icon down one or two notches on any glossy or light-coloured set.
- Take four or five frames while the client rolls their wrist slowly, since the lock holds through all of them.
- Tap once to release before the next client, so you do not shoot a whole set at the last client's brightness.
Where NailTech fits in
A locked exposure gives you something rare in a salon: a batch of photos from one appointment that all share the same brightness and the same colour cast. Identical inputs are far easier to correct than a pile of files that each went wrong differently, and a deliberately dark file with an intact highlight has more usable information in it than a bright one with a white patch in the middle.
What the lock cannot do is decide the cast. It freezes whatever white balance the phone guessed under your ceiling bulbs, so a whole batch arrives consistently warm rather than randomly warm.
NailTech is a nail image editor that picks up from there.
- Lift a deliberately underexposed file back to normal brightness without wrecking the shadows.
- Strip the bulb colour out of the skin and the polish separately.
- Match a batch from one appointment so the whole carousel reads as one shoot.
- Recover a soft highlight on top coat that was exposed a notch under.
NailTech is a phone editor for nail photos, so it works on what the lock protected. A highlight that recorded as pure white holds no colour to bring back, which is the entire reason for dragging that sun icon down before you shoot.
Auto exposure re-decides the brightness of your set every time the hand moves, which is why three photos taken thirty seconds apart never match and why one press and hold fixes it.
Make your nail photos look salon-ready
Download NailTech and clean up the lighting, skin tone and background on every set you post, in a few taps.
Download on App StoreFrequently Asked Questions
How do you lock focus and exposure on an iPhone camera?
Lock focus and exposure on an iPhone by pressing and holding on the subject for about two seconds until a yellow box pulses and AE/AF LOCK appears at the top of the screen. Drag the sun icon beside the box up or down to adjust brightness, and tap anywhere to release the lock.
What does AE/AF lock mean?
AE/AF lock means auto exposure and autofocus are both frozen at their current settings. The camera stops re-measuring brightness and stops hunting for focus, so the hand can move, the angle can change and every frame you take afterwards keeps the same sharpness point and the same exposure.
Should you underexpose nail photos?
Underexposing nail photos by one or two notches is worth doing on glossy or light sets, because it stops the top coat highlight recording as pure white. A slightly dark file lifts back up cleanly in editing, whereas a blown-out white patch holds no colour information to recover.
Why does my phone keep changing brightness between nail photos?
A phone keeps changing brightness between nail photos because auto exposure re-measures the scene every time the framing shifts. A shiny top coat catching the light makes the meter darken everything, and a pale hand filling more of the frame makes it brighten, so consecutive shots of the same set never match.
Does AE/AF lock work for video of nails?
AE/AF lock works in video mode on both iPhone and most Android camera apps, and it matters more there than in stills. Without it, the exposure visibly pulses as the hand turns under the light, which is the flicker that makes an otherwise good nail video look amateur.
Final Takeaways
- Press and hold, do not just tap. A tap sets focus, a hold locks it.
- Lock on the middle nail, since it sits closest to the average of the scene.
- Drag exposure down on anything glossy, because white patches never come back.
- Shoot the whole set on one lock so the batch matches out of the camera.
- Release before the next client, or you will inherit the wrong brightness.
- Pixel users get a shadow slider too, which lifts the dark side of the hand for free.

Hannah
Hannah is a co-founder of NailTech, the nail image editor that turns quick phone shots into portfolio photos. She worked in the beauty industry before moving into mobile design, and now owns product and design on the app.