
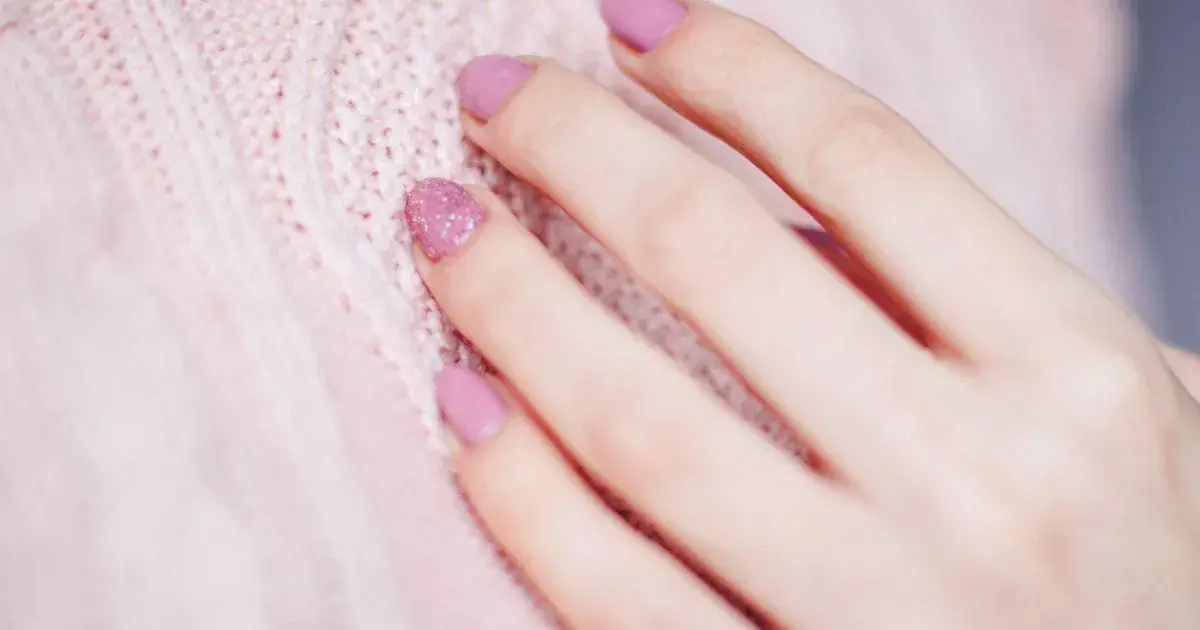
How to Edit Pink Nail Photos
Quick answer: Fix the white balance before anything else, because warm salon light turns pink into peach and phone auto-correction rarely puts it back. Cool the temperature until the client's skin looks right, then bring saturation down slightly rather than up. Pink is the shade that photographs orange most often.
You mixed a baby pink that took three coats to get even. On the desk it is soft, cool, slightly grey in the best way.
Then you open the photo and the client has coral nails.
Why do pink nails look orange in photos?
Because pink sits closer to orange than any other popular shade, and warm light only has to push it a little way to get there.
A salon bulb, a nail lamp still glowing on the desk, and the yellowish LED strip above the station all add warmth to the file. Warmth means the red and yellow channels go up. Pink is already mostly red, so it takes the shift harder than a navy or a black would, and there is nothing in the frame cool enough for your phone to balance against.
Skin makes it worse. A hand is warm too, so when your phone looks at the scene and tries to work out what is neutral, it sees a frame that is almost entirely warm tones and decides that must simply be what the room looks like. It leaves the cast alone.
The result is a photo where the nails and the hand have drifted the same distance in the same direction, which is why the shift is so hard to spot on the small screen. Nothing looks obviously wrong. It just is not the colour you mixed.
What is the right first move on a pink set?
Temperature, before you touch brightness.
Cool the temperature slider until the skin reads correctly, then stop and look at the nails. On most salon files that lands somewhere between a small and a moderate push toward blue, and it will fix the pink at the same time, because both the hand and the nail drifted together.
If cooling far enough to fix the pink makes the hand look grey or bluish, you have a mixed-light file: two sources at different colour temperatures hitting the same hand. That one is a shooting problem more than an editing one, and the fix is in taking nail photos in a dark salon.
Tint comes second and gets skipped constantly. Temperature moves a photo between orange and blue. Tint moves it between green and magenta, and fluorescent salon strips push green. A pink set under a green cast reads muddy rather than orange, and no amount of temperature work fixes it. If the pink looks dull instead of warm, tint is what you want.
Which pink is it, though?
The correction depends heavily on which family you are in, and techs treat all three the same.
Baby pink and milky pink
These are pale, low-saturation shades with very little colour information in them, which makes them the most fragile to edit. Push exposure and they go white. Push saturation and they go bubblegum. The whole job is temperature, then leaving them alone.
Watch the highlights especially. A pale pink under a bright light clips before you notice, and once the brightest part of the nail is pure white the shade reads as a plain French rather than a colour. Bring highlights down first, then judge the exposure.
Hot pink and fuchsia
The opposite problem. These are so saturated that the red channel clips on capture, which shows up as a flat magenta patch with no shading in it, usually across the middle of the nail where the light hits.
Lower saturation rather than raising it. It feels backwards, but a clipped hot pink recovers some shape when you pull the intensity down, and a hot pink that leaves the phone already at the edge has nowhere to go if you push.
Dusty and mauve pinks
The greyed pinks are the ones warm light damages most visibly, because their whole character is the absence of intensity. A small warm push turns a sophisticated dusty rose into a cheap salmon. Cool the temperature slightly further than you would on a brighter pink and check it against the client's skin rather than against the background.
Should you use saturation on pink nails?
Almost never upward.
Saturation is the slider that feels most productive and does the most damage to pink, for two reasons. It cannot tell the difference between the nail and the hand, so pushing it deepens the pink and reddens the skin at the same time, which is the look people describe as sunburnt hands. And pink is already near the top of what a phone sensor records cleanly, so extra saturation lands as a solid block of colour with no gradient in it.
If a pink genuinely looks weak after correction, the problem is usually contrast rather than saturation. A small contrast lift separates the nail from the finger and makes the shade read as deliberate, without touching the hue at all. There is more on where techs overreach in nail photo editing mistakes.
How do the options compare on a pink set?
| Approach | Pink stays true | Skin stays natural | Time per photo | Cost |
|---|---|---|---|---|
| Straight out of the phone | No, warm cast intact | Warm | None | Free |
| Auto enhance | Sometimes, often overshoots cool | Variable | Seconds | Free |
| Instagram or TikTok filters | Rarely, most add warmth | Usually pushed orange | Seconds | Free |
| Snapseed or Lightroom Mobile | Yes, with temperature and tint set by hand | Good with care | 4 to 8 minutes | Free or paid tier |
| NailTech | Yes, corrected against the hand | Good | About a minute | App purchase |
A four-step edit for a pink set
- Set temperature against the skin first, cooling until the hand looks like the hand you were holding, and let the pink follow.
- Check tint if the shade looks dull rather than warm, since salon strip lights push green.
- Bring highlights down before adjusting exposure, especially on pale and milky pinks that clip early.
- Leave saturation alone or lower it, then add a small contrast lift if the shade still looks flat.
Where NailTech fits in
Pink drifts further under a warm bulb than any other shade in your kit, and it drifts in the same direction as the skin it sits on, which is exactly why the shift survives a quick look on the small screen. Correcting it means moving the hue back without dragging the hand orange or grey along with it, and that is two judgements happening at once on a photo you have ninety seconds for.
NailTech is a nail image editor, so the correction is built around the relationship between a shade and the skin underneath it.
- Neutralises salon warmth so baby pink stops arriving as peach.
- Handles green strip-light tint that makes dusty pinks look muddy.
- Protects pale shades from clipping to plain white.
- Keeps hands looking like hands rather than sunburnt.
- Matches across a set so all ten nails read the same pink.
NailTech is a phone editor for nail photos, not a colour-matching system for polish. It corrects what the light did to a shade, it does not tell you which shade was in the bottle.
A baby pink that arrives peach and a hand that arrives orange are the same error measured twice, which is why the photo looks fine until you hold it next to the client's actual nails.
Make your nail photos look salon-ready
Open NailTech and clean up the lighting, skin tone and background on every set you post, in a few taps.
Open NailTechFrequently Asked Questions
Why do my pink nails look orange in photos?
Pink nails look orange in photos because salon bulbs and nail lamps add warmth to the file, and pink is already mostly red, so a small warm shift pushes it toward peach. Phone auto white balance rarely corrects this, because the hand is warm too and the camera reads the whole scene as naturally warm.
How do you fix the colour of pink nail photos?
Fix pink nail photos by cooling the temperature slider until the client's skin looks correct, which pulls the pink back at the same time. Check the tint slider next if the shade looks dull rather than warm, since fluorescent salon lights add green. Avoid raising saturation, because it reddens skin along with the nail.
Should I brighten pale pink nail photos?
Bring highlights down before raising exposure on pale pink nail photos. Baby pink and milky pink hold very little colour information, so the brightest part of the nail clips to white quickly and the shade stops reading as a colour. Judge exposure only after the highlights are under control.
Why does hot pink look flat in photos?
Hot pink looks flat in photos because the shade is saturated enough to clip the camera's red channel at capture, leaving a solid magenta patch with no shading. Lowering saturation slightly recovers some of the shape. Raising it makes the flat area larger, which is the opposite of what most people try first.
Do pink nails need a different edit on different skin tones?
Pink nails need the same white balance approach on every skin tone, but the reference point changes. Set temperature against the client's actual skin rather than against a remembered idea of what skin looks like. More detail on judging this is in photographing nails on different skin tones.
Final Takeaways
- Temperature first, always, on a pink set.
- Judge it against the hand, not against the nail, because both drifted together.
- Check tint when the pink reads muddy instead of warm.
- Highlights down on pale pinks before you touch exposure.
- Saturation down, not up, on anything in the hot pink family.
- A small contrast lift does what people wrongly reach for saturation to do.

Hannah
Hannah is a co-founder of NailTech, the nail image editor that turns quick phone shots into portfolio photos. She worked in the beauty industry before moving into mobile design, and now owns product and design on the app.



