
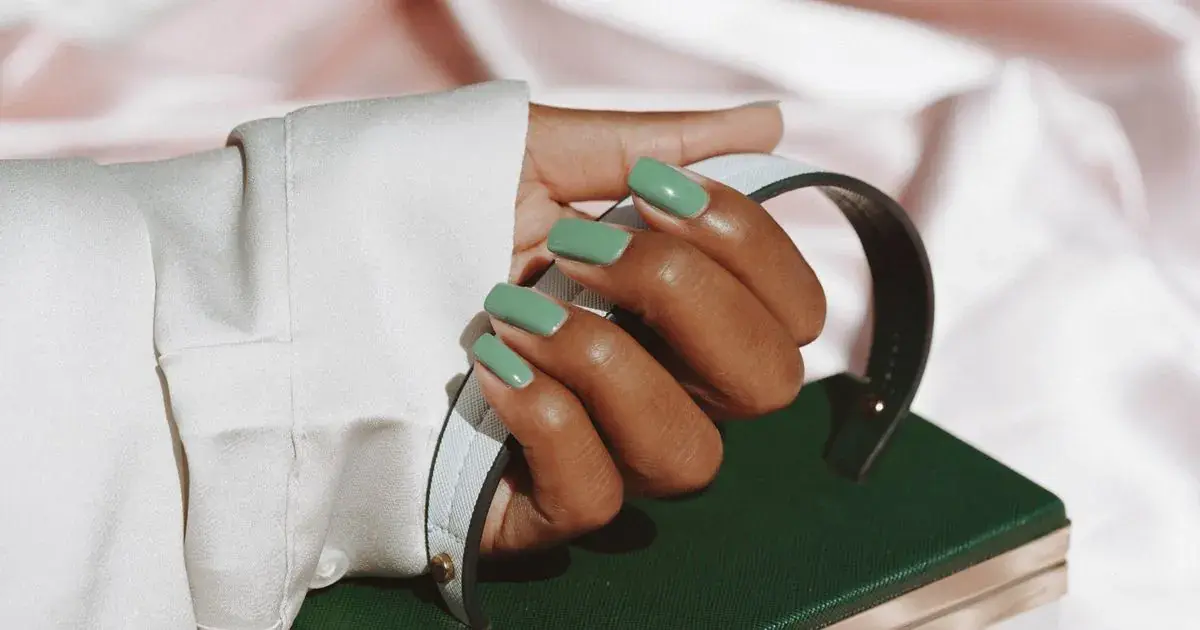
How to Edit Green Nail Photos
Quick answer: Green is the hue warm salon light damages fastest, because warmth adds red and red is the opposite of green. Cool the temperature until the skin reads right, then check the tint slider, which is what actually separates a sage from a khaki. Saturation comes last, and usually not at all.
You mixed a sage that took two coats and a top coat to sit flat. On the desk it is soft, grey-green, expensive looking.
The photo gives you khaki.
Why do green nails look brown in photos?
Because green is the shade sitting furthest from everything else in the frame.
A salon file is warm by default. The bulb overhead is warm, the nail lamp still glowing on the desk is warm, and the hand is warm. Warmth means the red and yellow channels come up across the whole photograph. Red is green's opposite on the colour wheel, so every bit of warmth that gets added is subtracting from the green rather than shifting it sideways.
That is the difference between green and every other popular shade. A warm cast pushes pink toward peach and blue toward teal, which are still recognisably pink and blue. On green it removes the colour instead of moving it, and what is left once enough green has been cancelled out is brown.
Sage suffers worst because there was very little saturation there to begin with. A greyed green has maybe a third of the colour information a cobalt does, so it does not take much red to eat all of it.
Does tint matter more on green than on other shades?
Yes, and it is the slider almost nobody opens.
Temperature moves a photo between orange and blue. Tint moves it between green and magenta, which means tint is the axis your polish actually lives on. Two things follow from that.
The first is that fluorescent salon strip lights push green, so a green set shot under strips comes out artificially green rather than accurately green. The nails read acidic and the client's hand picks up a faint sickly cast at the same time. Pulling tint slightly toward magenta fixes both.
The second is that a green set shot under a warm bulb has often lost tint as well as temperature, and correcting only temperature leaves it looking flat and slightly grey. Once the file is neutral, a small push back toward green on the tint slider does what raising saturation would do, without touching the skin nearly as much.
Judge tint against the client's hand, never against the nail. Skin has no green in it, so a green cast shows up on a knuckle long before you see it on a mint nail.
Which green are you actually editing?
The correction changes a lot between families, and treating them the same is why one edit works and the next one does not.
Mint, sage and pistachio
Pale, desaturated, and the most fragile files in the whole category. They hold so little colour that a warm cast, an exposure push and an auto enhance will each independently strip them to beige.
Get the white balance right and then stop. Highlights are the other trap: a pale green under a bright light clips before you notice, and once the top of the nail is pure white the shade reads as an off-white rather than a colour. Bring highlights down before you judge the exposure.
Emerald and jade
The easiest greens to photograph and the ones people overwork. These are saturated enough to survive a warm cast partially intact, which means what arrives usually looks acceptable, and the temptation is to push it further.
Do not. A saturated emerald is already close to the top of what a phone sensor records with any gradient in it, and adding intensity turns the middle of the nail into a solid block. If the shade looks weak, correct the temperature properly and add a small contrast lift instead.
Olive and dark forest
Dark greens hide their problems in the shadows. The camera meters for the bright hand and the bright background, underexposes the polish, and what you get is a nail that reads black with a hint of colour somewhere in it.
Lift the shadows rather than the exposure. Exposure raises everything including the skin, which turns a well-lit hand into a washed out one. Shadows open the bottom of the range, which is where the green actually is. The same logic applies to any dark shade and there is more on it in brightening dark nail photos.
Should you raise saturation on a green set?
Almost never, and for a reason specific to green.
Skin contains red, yellow and a small amount of blue. It contains essentially no green. So when you drag a global saturation slider on a photo of a green manicure, the green nails get more intense and the hand gets more orange at the same time, and the gap between the two widens in both directions at once. That is the look people describe as the nails being cut out and pasted on.
The honest fix when a green reads weak is almost always tint plus a small contrast lift, in that order. Saturation is the third option and it is a distant third. There is a longer list of where techs overreach in nail photo editing mistakes.
How do the options compare on a green set?
| Approach | Green stays true | Skin stays natural | Time per photo | Cost |
|---|---|---|---|---|
| Straight out of the phone | No, sage arrives khaki | Warm | None | Free |
| Auto enhance | Rarely, usually flattens pale greens further | Variable | Seconds | Free |
| Instagram or TikTok filters | No, most add warmth, which is the exact wrong direction | Pushed orange | Seconds | Free |
| Snapseed or Lightroom Mobile | Yes, if you set temperature and tint by hand | Good with care | 4 to 8 minutes | Free or paid tier |
| NailTech | Yes, corrected against the hand | Good | About a minute | App purchase |
A four-step edit for a green set
- Cool the temperature against the skin, not against the nail, until the hand looks like the hand you were holding.
- Open the tint slider next, pulling toward magenta if the file looks acidic and toward green if the shade has gone grey.
- Bring highlights down on pale greens and lift shadows on dark ones, rather than moving exposure in either case.
- Add a small contrast lift if the shade still reads weak, and leave saturation where it is.
Where NailTech fits in
Green is the only shade family where the ordinary salon cast is actively cancelling the colour rather than shifting it, so the same warm bulb that makes a red look richer makes a sage look like nothing at all. Correcting that means moving two sliders that interact, temperature and tint, and checking both against a hand that has no green in it to compare against.
NailTech is a nail image editor, so the colour work is built around what the polish is doing against the skin it sits on rather than what the whole frame averages out to.
- Removes salon warmth so sage and pistachio stop arriving as beige.
- Handles the green cast that fluorescent strip lights add on top.
- Protects pale shades from clipping to white at the tip.
- Opens dark greens without washing the hand out.
- Keeps a set matched so all ten nails read the same green.
NailTech is a phone editor for nail photos, not a shade-matching tool. NailTech corrects what the light did to a green, it cannot tell you which green came out of the bottle.
Warm light does not turn a sage green into a warmer green. It subtracts green until what is left is brown, which is why the sliders that rescue a pink do nothing for a mint.
Make your nail photos look salon-ready
Open NailTech and clean up the lighting, skin tone and background on every set you post, in a few taps.
Open NailTechFrequently Asked Questions
Why do my green nails look brown in photos?
Green nails look brown in photos because warm salon lighting adds red to the file, and red sits directly opposite green on the colour wheel. Instead of shifting the hue sideways, the warmth cancels the green out. Pale shades like sage and pistachio go first, because they hold the least colour information to begin with.
How do you edit green nail photos on a phone?
Edit green nail photos by cooling the temperature slider until the client's skin looks correct, then adjusting tint, which controls the green to magenta axis the polish actually lives on. Bring highlights down on pale greens and lift shadows on dark ones. Leave saturation alone, because skin contains no green and the slider pushes both apart.
Why do my mint nails look white in photos?
Mint nails look white in photos when the highlights clip, meaning the brightest part of the nail has been recorded as pure white with no detail underneath. Salon light bouncing off a fresh top coat causes this constantly. Lower the highlights before touching exposure, because clipped areas hold no colour to recover.
Should I use a filter on green nail photos?
Avoid warm filters on green nail photos. Most popular Instagram and TikTok presets add warmth, which is the exact shift that turned the green brown in the first place. A filter applied on top of an uncorrected salon file compounds the problem rather than hiding it, and it moves the client's skin tone with it.
Does dark green need a different edit to mint?
Dark green needs shadow recovery, mint needs highlight control, and the two edits pull in opposite directions. Olive and forest greens sit in the underexposed part of the file, so lifting shadows brings the colour back. Mint and sage sit in the bright part, so lowering highlights stops the shade washing out to off-white.
Final Takeaways
- Warm light removes green, it does not warm it, which is why green behaves unlike every other shade.
- Tint is the slider that matters, and it is the one most techs never open.
- Judge both sliders against the hand, because skin has no green in it to hide a cast.
- Highlights down on mint, shadows up on forest, and exposure left alone in both cases.
- Saturation widens the gap between green nails and orange skin in one move.
- Contrast does the job people reach for saturation to do.

Hannah
Hannah is a co-founder of NailTech, the nail image editor that turns quick phone shots into portfolio photos. She worked in the beauty industry before moving into mobile design, and now owns product and design on the app.



